
This article presents a step-by-step guide to transfer your domain and website data from GoDaddy to Interserver.
People usually look for alternatives to GoDaddy as they are not satisfied with the pricing and customer support. Interserver has better customer service, cheaper, and faster servers.
We’ll take you through the process of transferring your domain in easy and simple steps.
Step 1: Exporting your domain from GoDaddy.
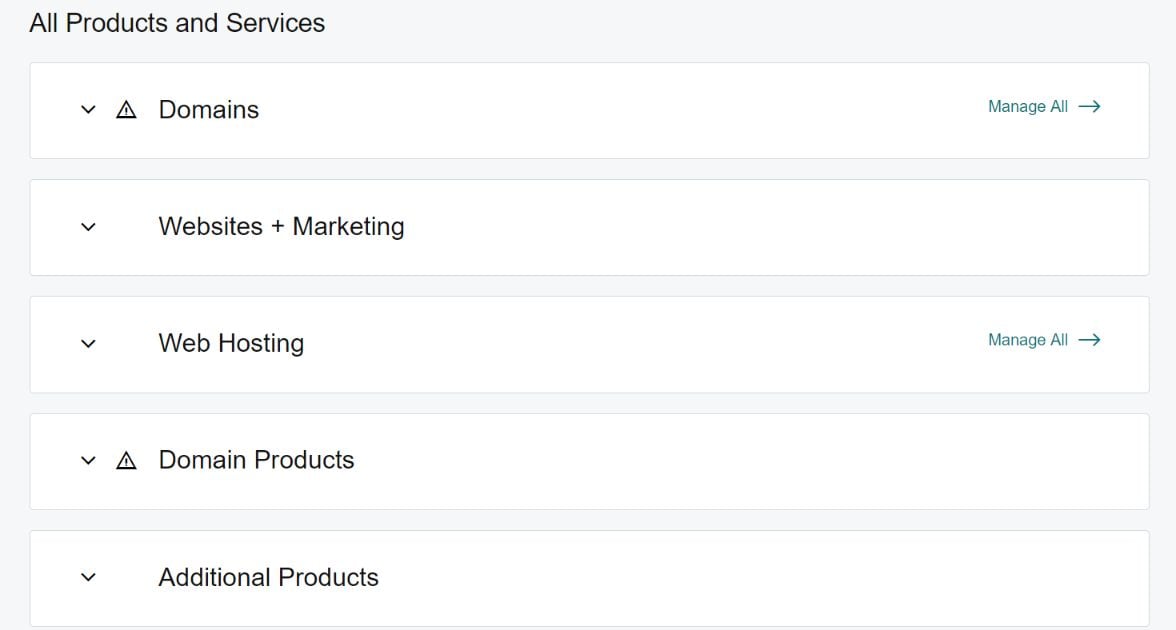
Sign-in into your hosting account and open Domain Manager. It will be listed under “All Products and Services” tab.
Choose the domain that you want to transfer and click on the Manage option. This will lead you to the domain settings.

Scroll down and check that the Domain lock is turned off.

Now you need an authorization code. First of all, make sure that the email address registered with GoDaddy is accessible to you.
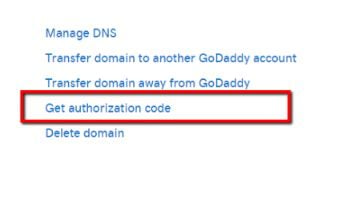
Select the Get authorization code option.
Now, you will receive an email from GoDaddy which will look something like this.
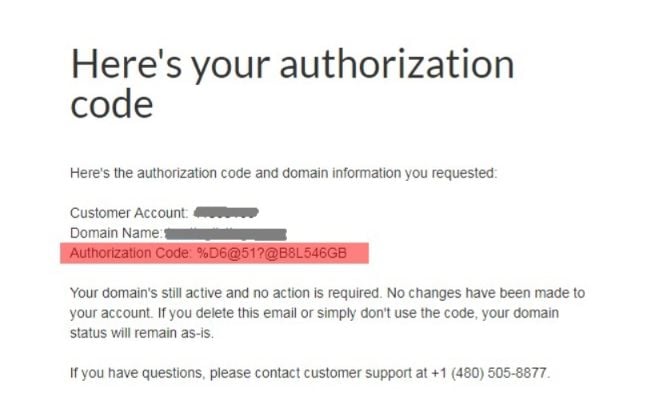
The authorization code will be used in the later steps.
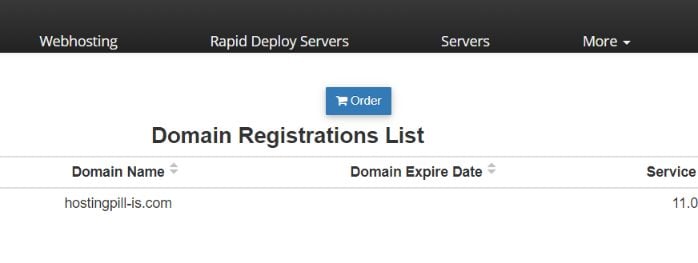
Now, sign in to Interserver.net. Click on the Domains tab near the top right corner.
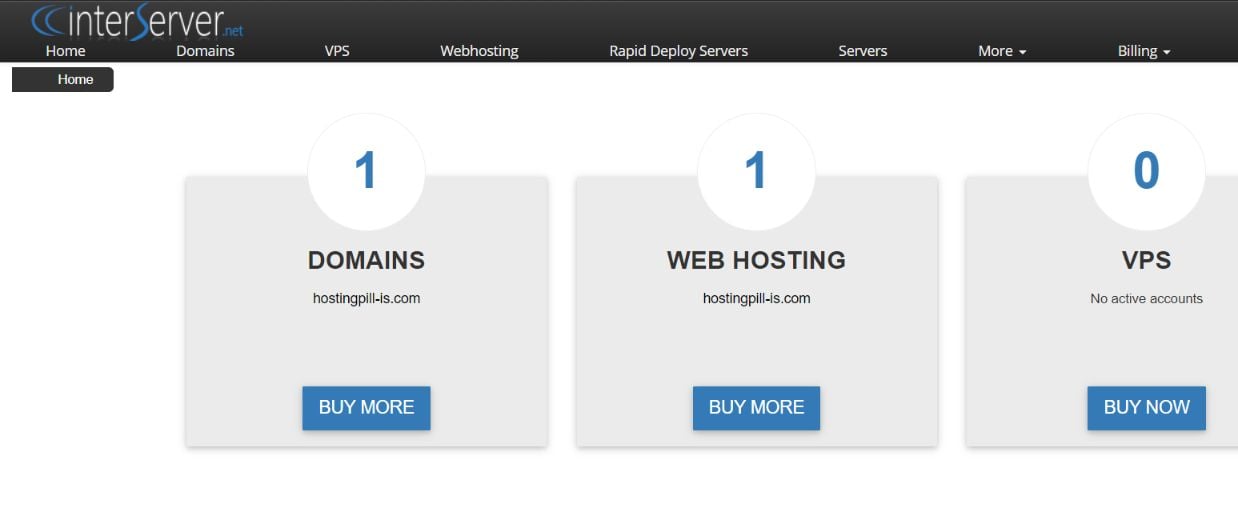
You will see the list of all domains that you possess. Now, click the Order button.
Search for your domain on the next page. The website will show you an option to transfer the domain if you already own it. It will look similar to the image below.
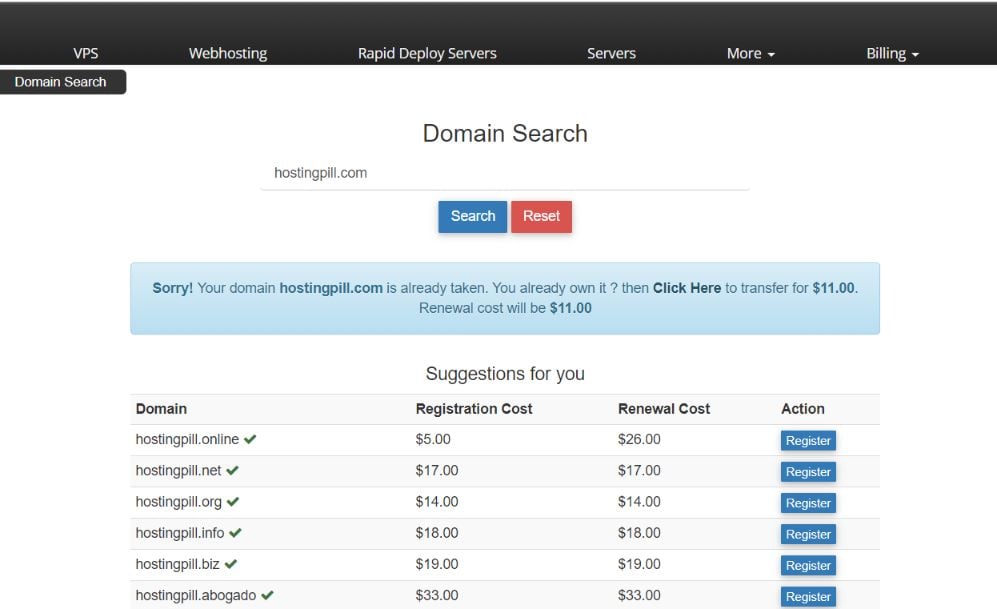
Proceed with the transfer. Fill in your personal details on the next page and click Proceed. Your order summary will be presented to you. Click on Place Order.

Now, you will receive an email regarding the confirmation for the transfer of your domain. Click on the link mentioned in the email and accept the transfer.
Open your GoDaddy account and go to the Domain Manager. In the drop-down menu for Domains, click on Pending Account Changes.
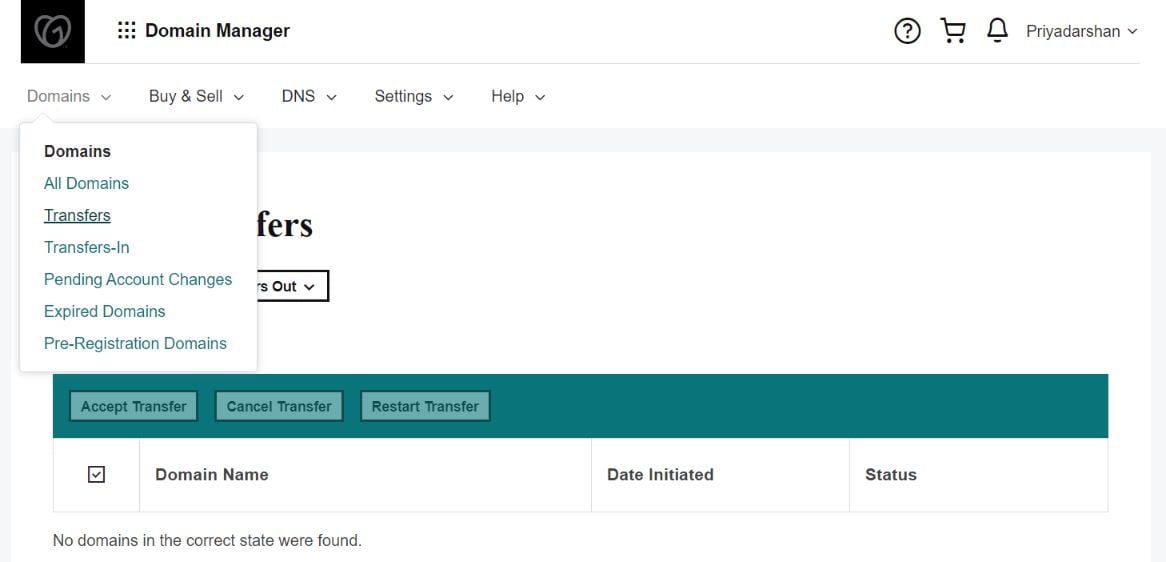
Click on the link to accept your transfer. The transfer may take a few minutes.
Step 2: Transferring your Data
In your GoDaddy account, under All Products and Services, select Manage All option in the Web Hosting tab.
Select the cPanel Admin option on the next page. Now, wait a few seconds before your cPanel has opened.
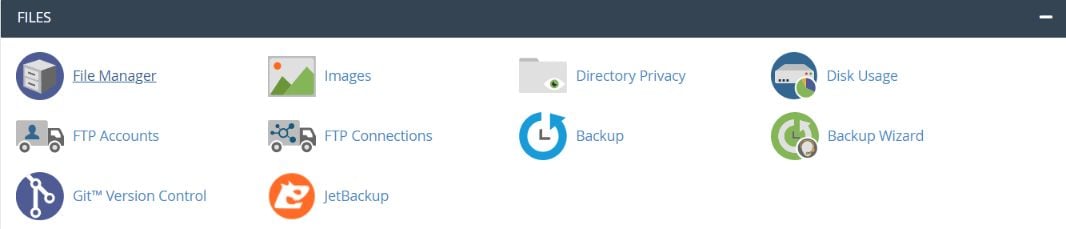
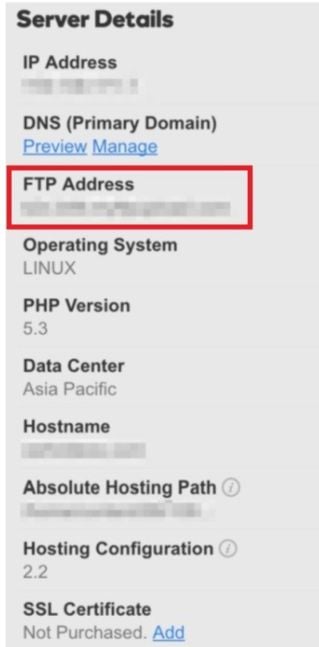
Select FTP Accounts option under Files section.
Create an FTP account. Note the FTP Address in the FTP settings.
Now using an FTP client such as FileZilla, download the required data files from your website onto your PC. Make sure you do not miss any important files.
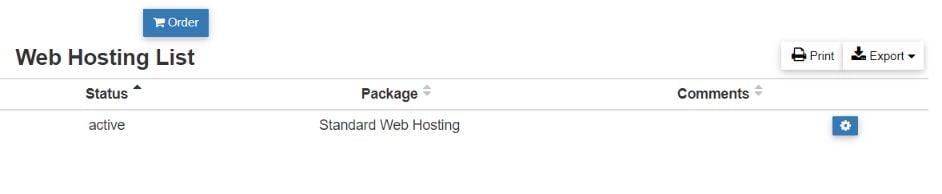
Now, go to your Interserver account and click on Webhosting tab. Select the setting icon in front of your transferred domain.
Select “LOGIN TO CPANEL” on the next page. Under the Files section, select File Manager.
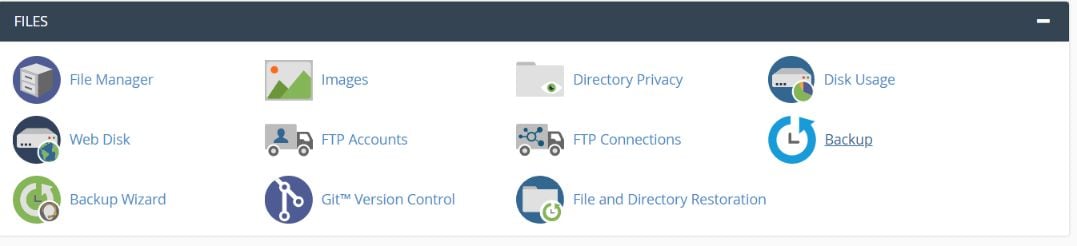
You can upload all the required data files in the file manager.
Step 3: Migration of your Database.
Log in to your GoDaddy cPanel. Look for the Database section and select phpMyAdmin.

You will be redirected to your phpMyAdmin page. Click the Export option and select the databases that you want to export to Interserver.
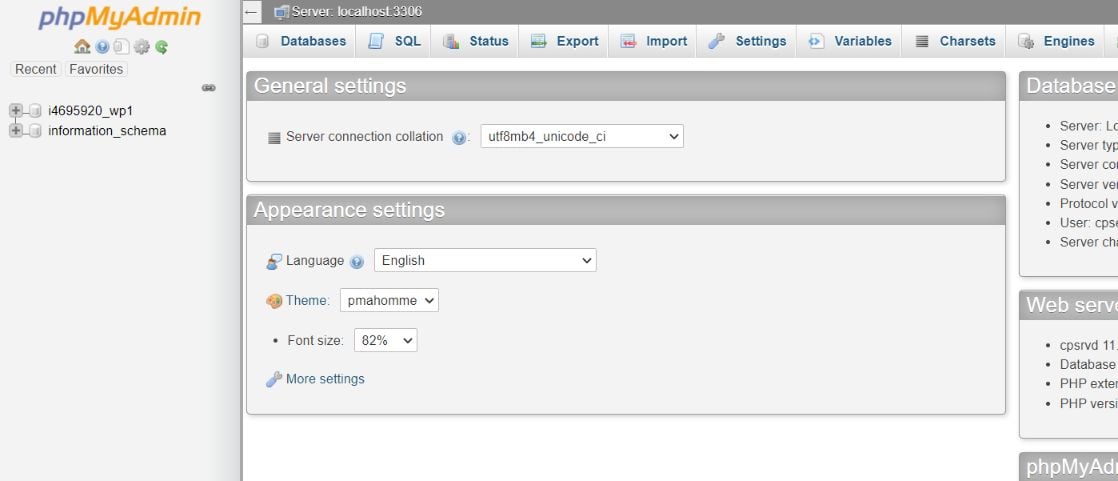
Similarly, open your Interserver account. In the cPanel, click on phpMyAdmin under the Database section.
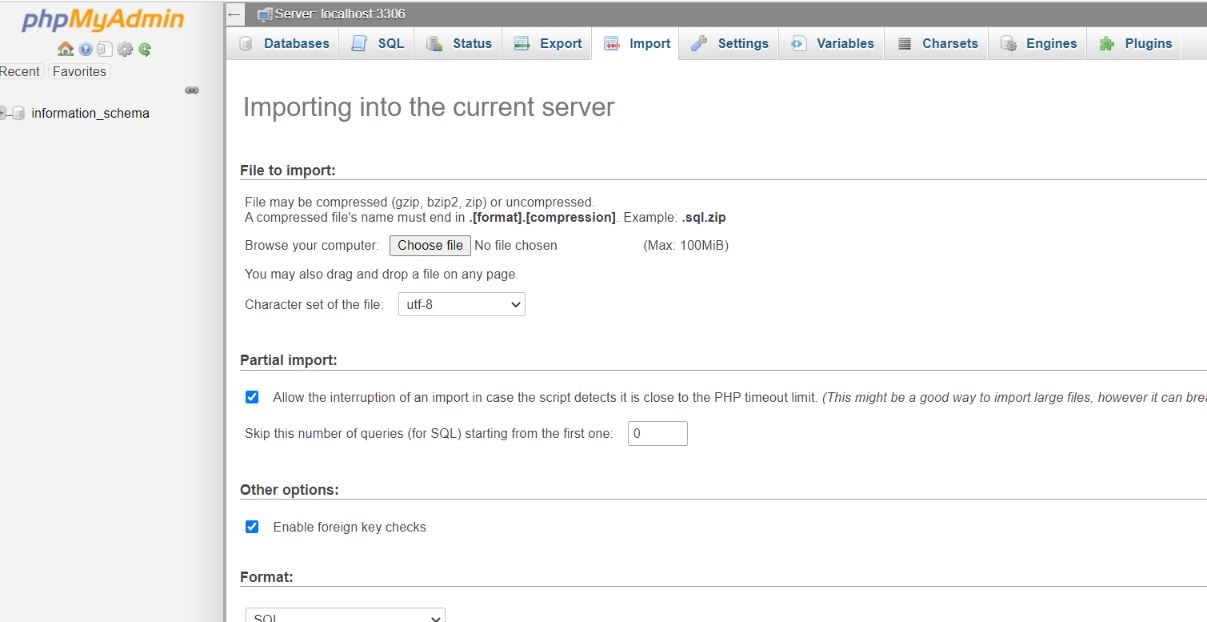
Select the Import tab and upload the exported files to Interserver’s servers.
Conclusion
Thus, it is easy and comfortable to transfer your domain from GoDaddy to Interserver. It requires a little patience and nominal technical skills. You should ensure that your data is backed up before following the steps in this article.
And if you are looking for some discounts on Interserver plans, you can claim your Interserver discount here.