
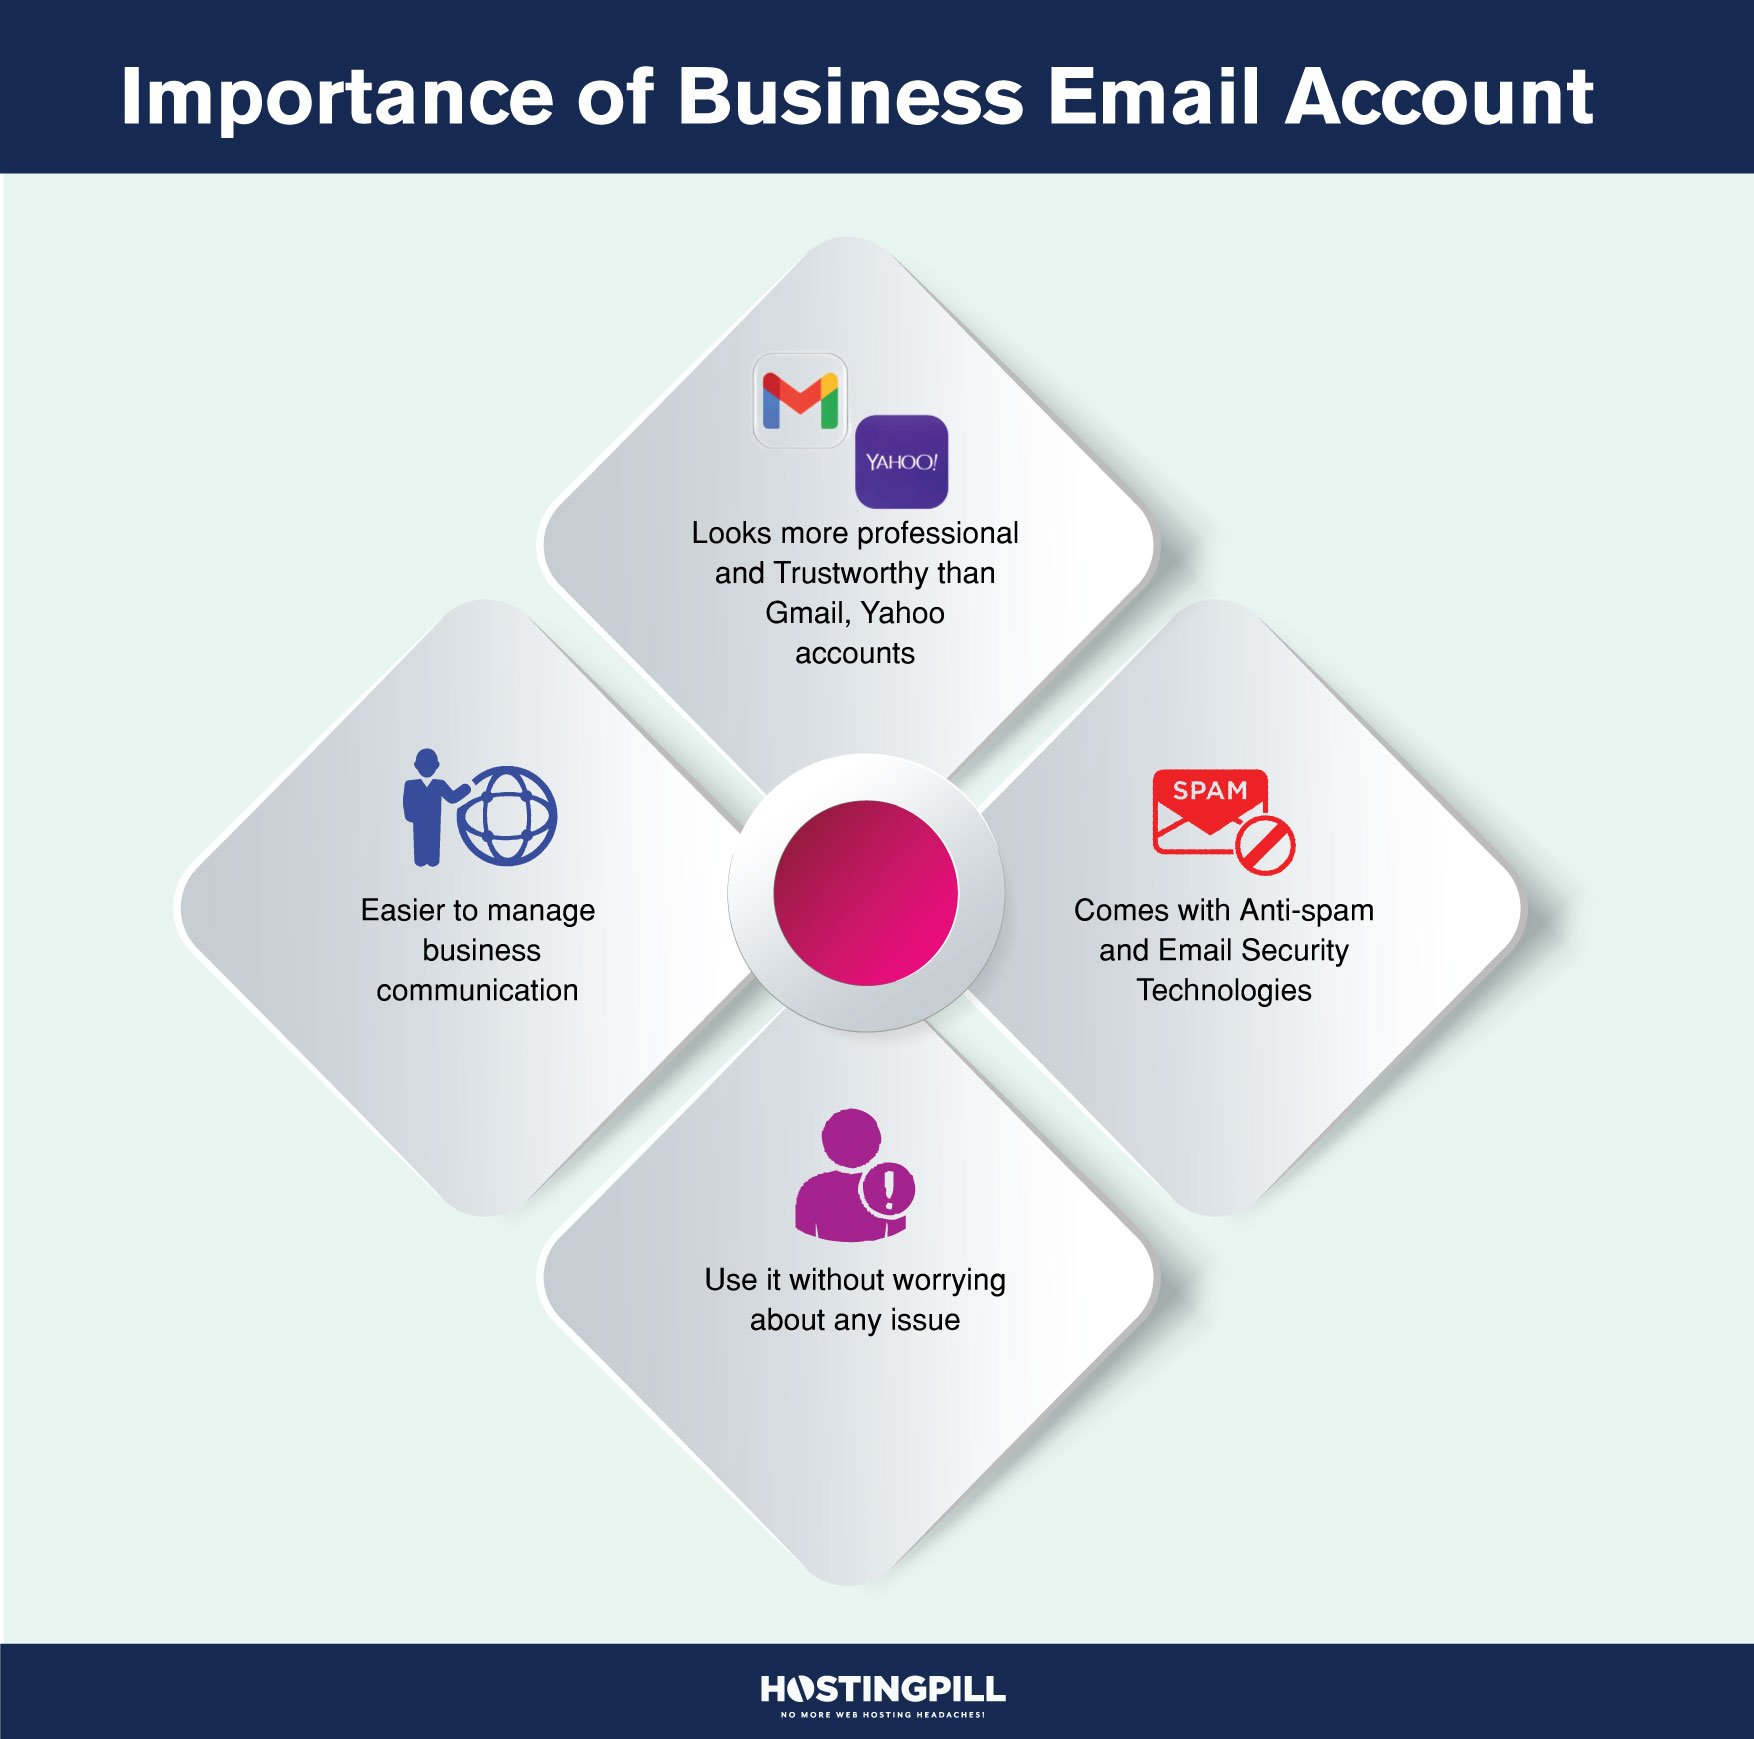
- It looks way more professional and trustworthy than a standard Gmail, Outlook, or Yahoo account.
- It’s easier to manage business emails if you have a dedicated email domain with mailboxes for each of your users/employees.
- You can protect your business email with anti-spam and email security technologies.
- It’s important if you want to make the most of email marketing services to grow your brand.
- With email hosting, all the technical details will be taken care of by your provider. All you need to do is set up your business email and contact support if you need help.
That sounds great! But, how do you get a business email? This guide will show you exactly how you can easily get professional business email hosting for cheap with SeekaHost.
Why get email hosting with SeekaHost?
There are many email hosting providers out there, so you may be wondering why we chose SeekaHost for this guide. Well, SeekaHost is one of the best email hosting providers in our opinion for the following reasons:
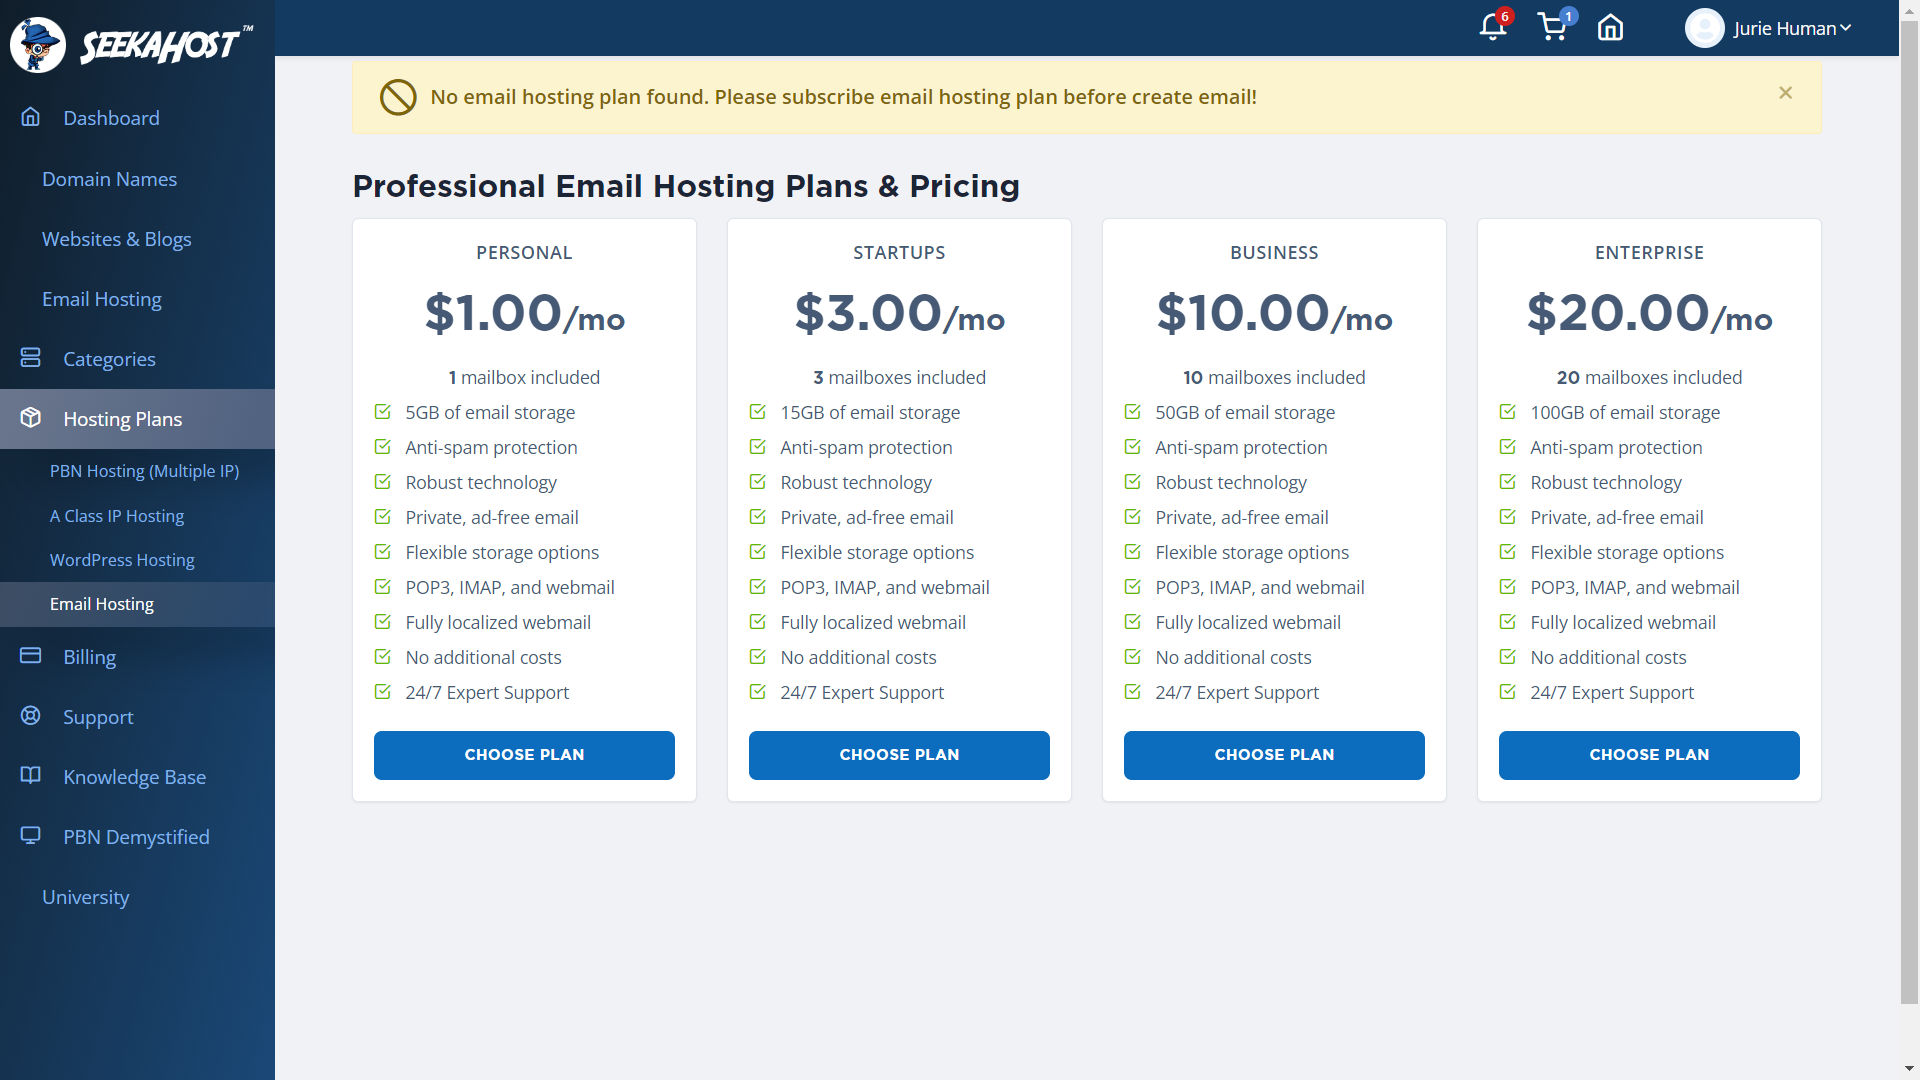
- Cheap and scalable pricing: SeekaHost’s email hosting plans start at just $1/month for 1 email address and 5 GB of storage. There are also three other plans at $3/month, $10/month, and $20/month with increasing email account and storage limits. All plans come with all features and no hidden pricing or high renewal rates.
- Security and privacy: All SeekaHost’s email accounts are protected by anti-spam technology and are completely ad-free.
- Features: For more technical users or specific use cases, SeekaHost’s email hosting supports different protocols, like POP3, IMAP, and webmail. However, most users don’t have to worry about this and webmail is the preferred option in most situations.
- 24/7 support: All SeekaHost’s customers get free 24/7 customer support. SeekaHost is known for having a reliable and knowledgeable support team that’s available via phone or tickets/email.
- Domain registration: SeekaHost offers extremely affordable domains, particularly for .co.uk, .ca, and .com domains. So, you can save even more by buying a domain through SeekaHost and using it to easily set up your business email.
How to create a business email account with SeekaHost?
OK, so if you’re ready, let’s see how you can create a business email account with SeekaHost step-by-step. The process should take less than 30 minutes if you follow this guide.
Register a free SeekaHost account
1. The first step will be to visit their page and register a free account. All you need to do is provide your personal and contact details and create a password:

2. SeekaHost will send you an email to verify your account. Once that’s done, you’ll be able to log into the SeekaHost dashboard:

Subscribe to an email hosting plan
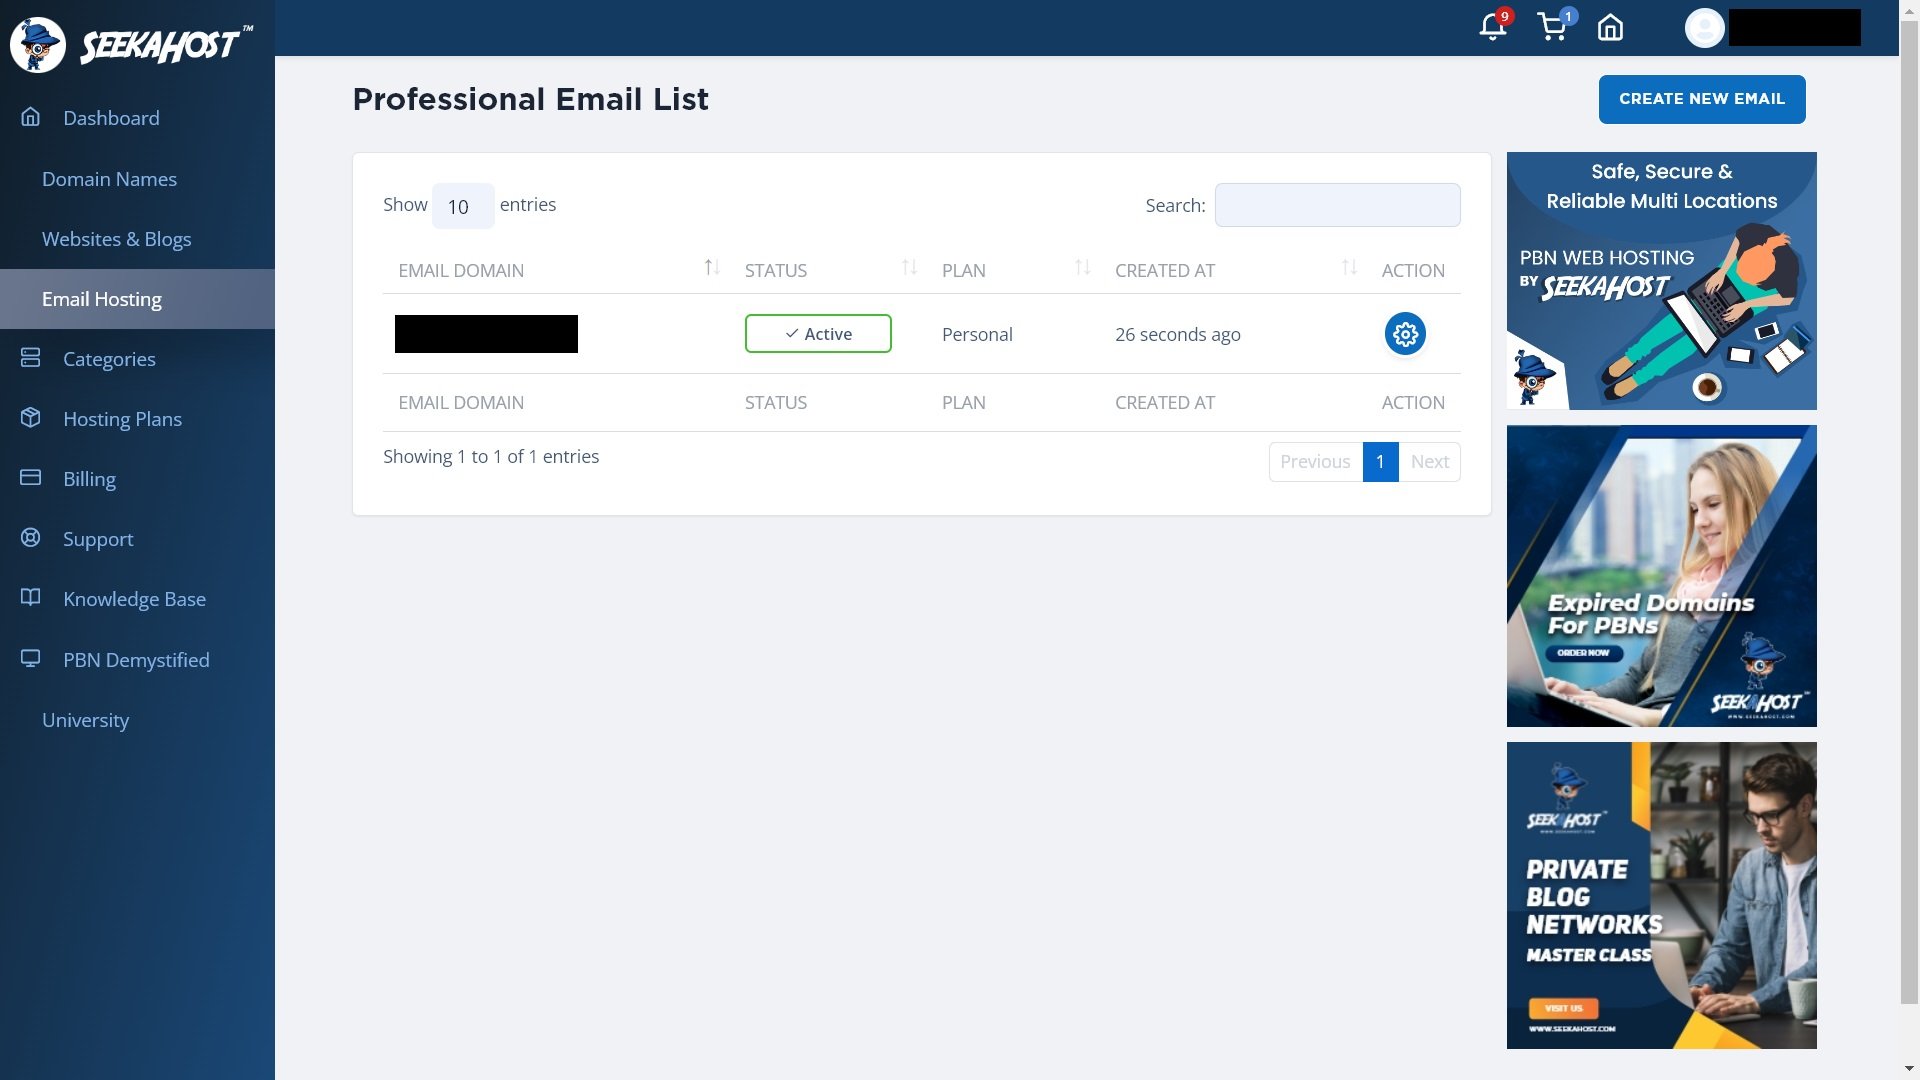
1. In the left hand menu, click on the “Email Hosting” option. Once you’re in the Professional Email List dashboard, click the “Create New Email” button in the top right corner:

2. That will take you to a page with all of SeekaHost’s pricing options. The cheapest plan comes with one email address and 5GB of email storage. Choose whichever one suits you best:
3. You’ll need to provide some additional details to register the email address to your name:

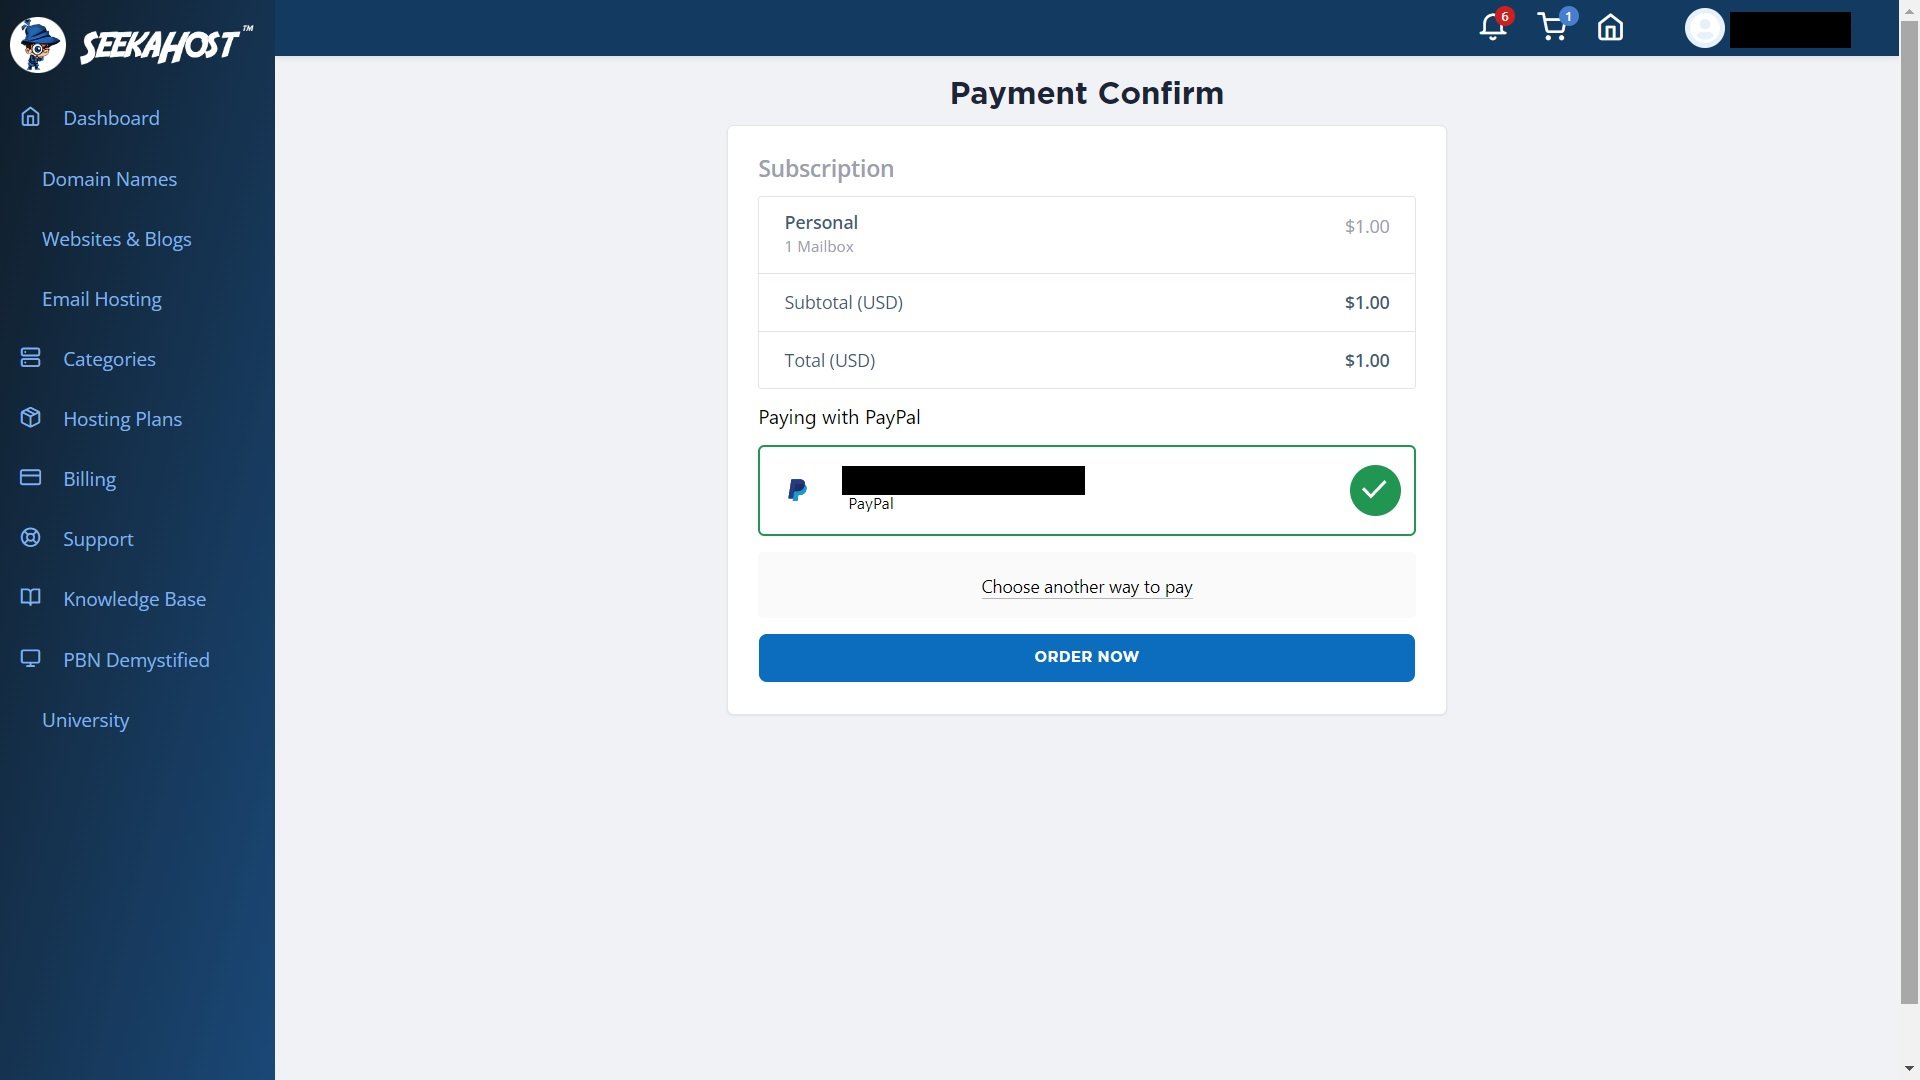
4. Next, is the payment step. You can pay using PayPal or a debit/credit card. Just follow the instructions to complete the payment according to your preferred method:
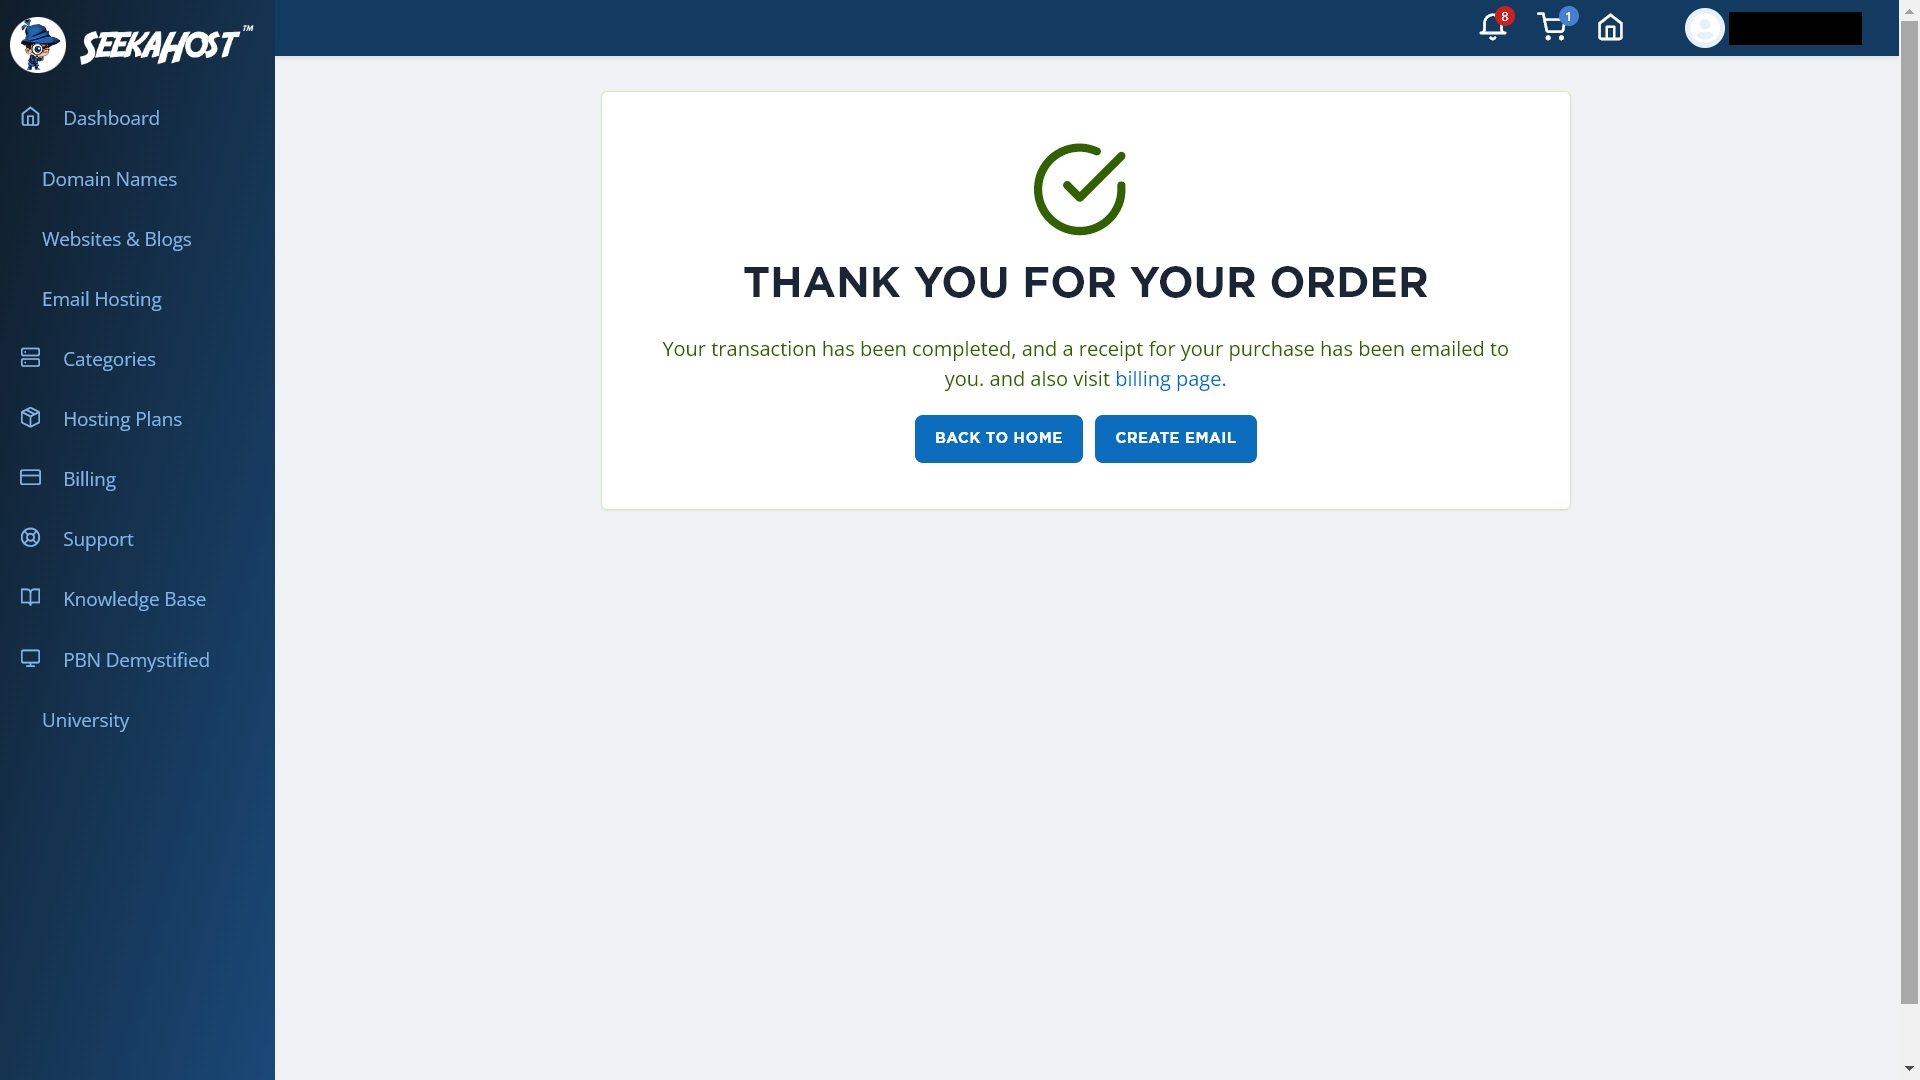
5. If the payment is successful, you’ll see the following message. You should also receive an email with your order details. Click the “Create Email” button to continue:
Link a domain to your email hosting plan
Your business email needs to be linked with a registered domain. So, the first step is registering a new domain with SeekaHost or linking your existing domain.
In my case, I already owned a domain to use. However, registering one with SeekaHost is also really simple and affordable. You can find out more about SeekaHost’s domains above.
1. Assuming you own a domain, type it into the box and click “Use this domain:”
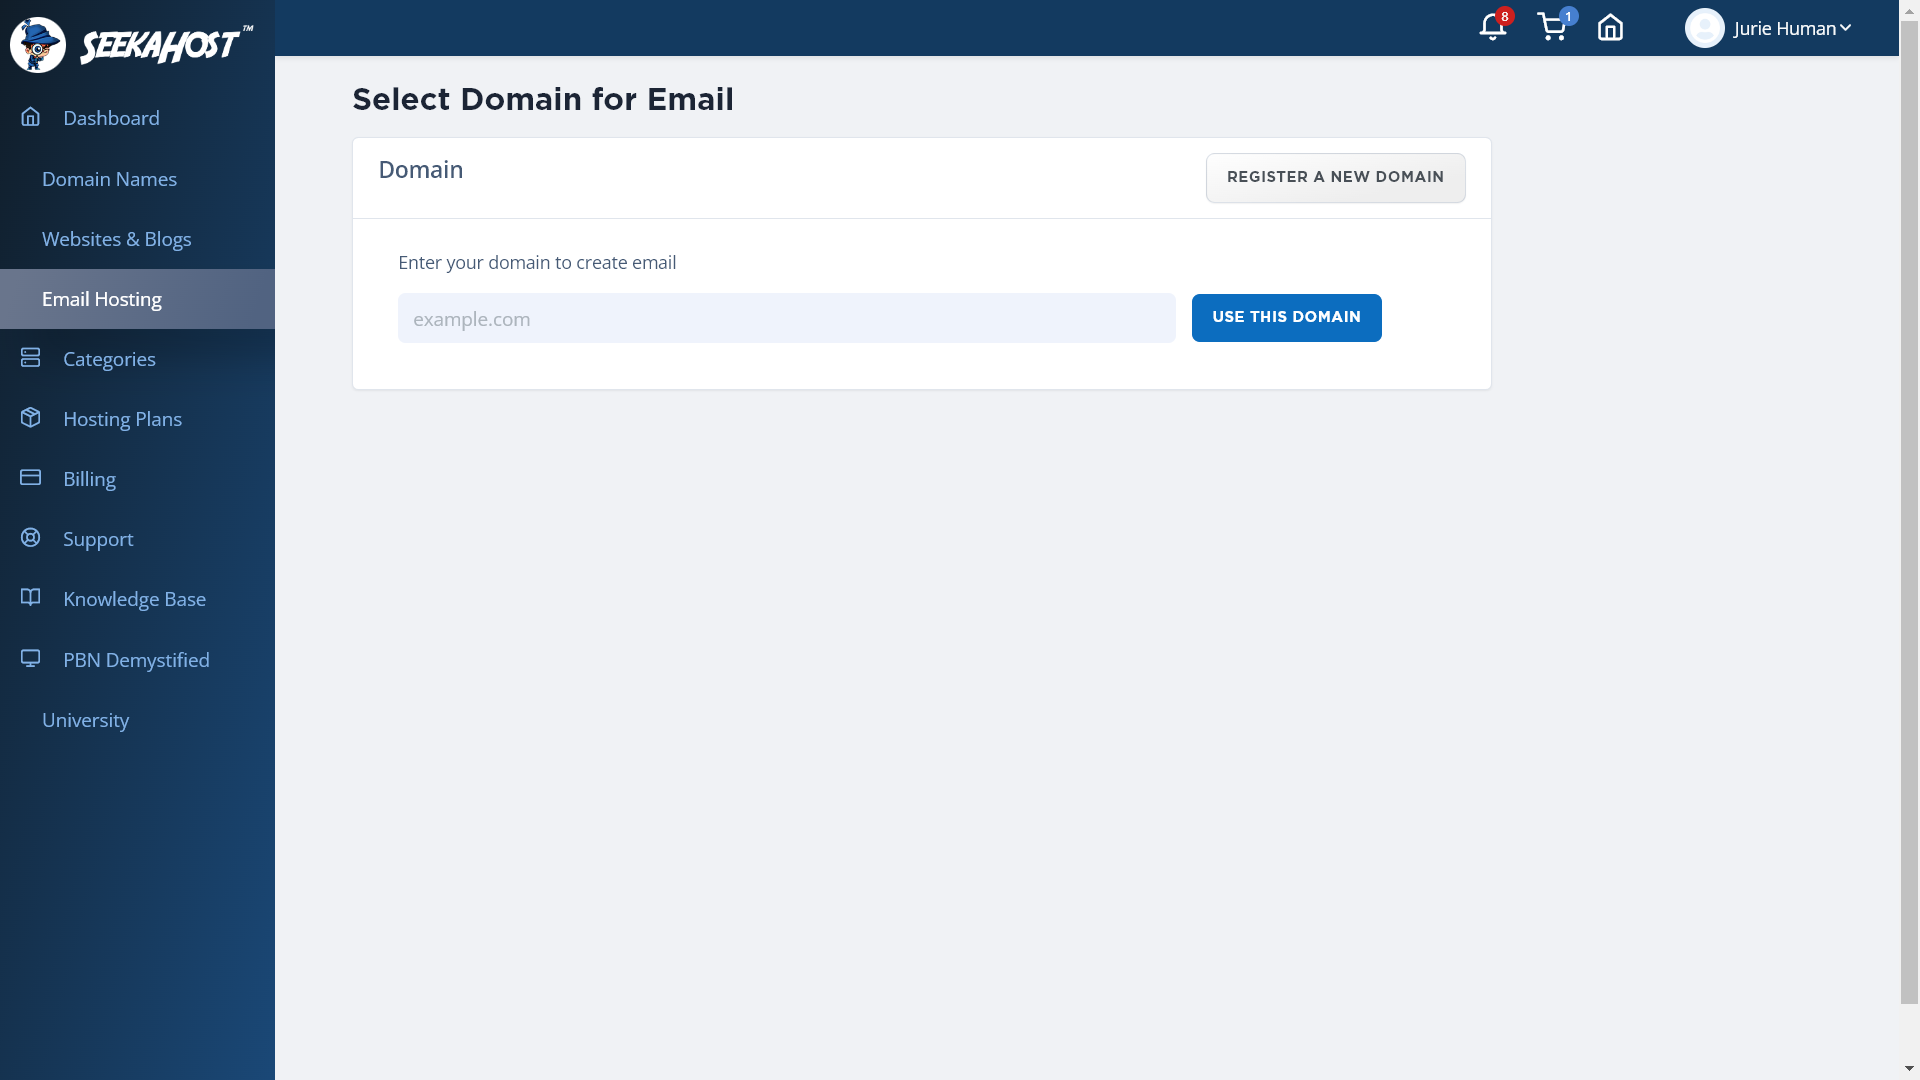
2. SeekaHost will check if the domain is valid. Confirm that it’s the domain that you want to use and choose which of your active subscriptions you want to use to register the new email domain. When you’re ready, click “Create:”

3.That’s it! SeekaHost will now create your email domain and list it under your Professional Email List:
Configure a new email mailbox
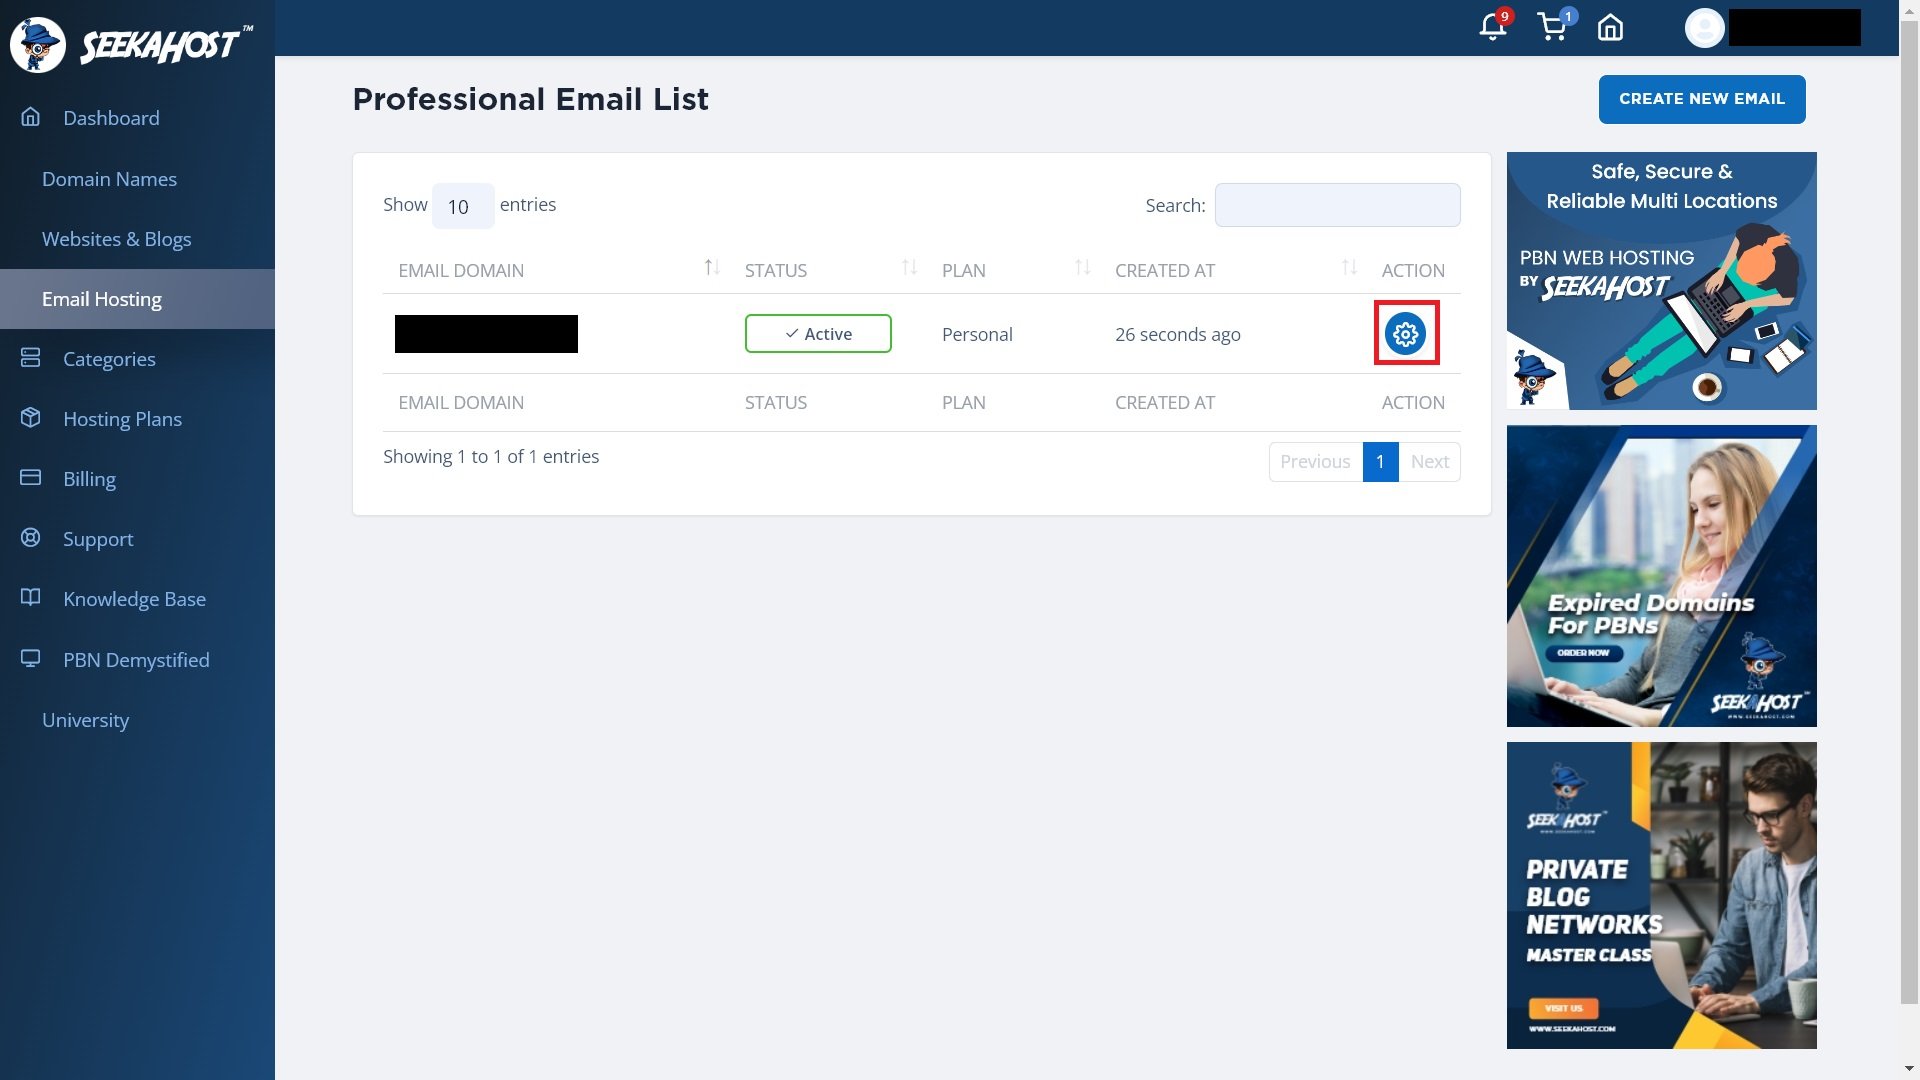
1. You can see information about your email address settings and usage if you click the gear icon:
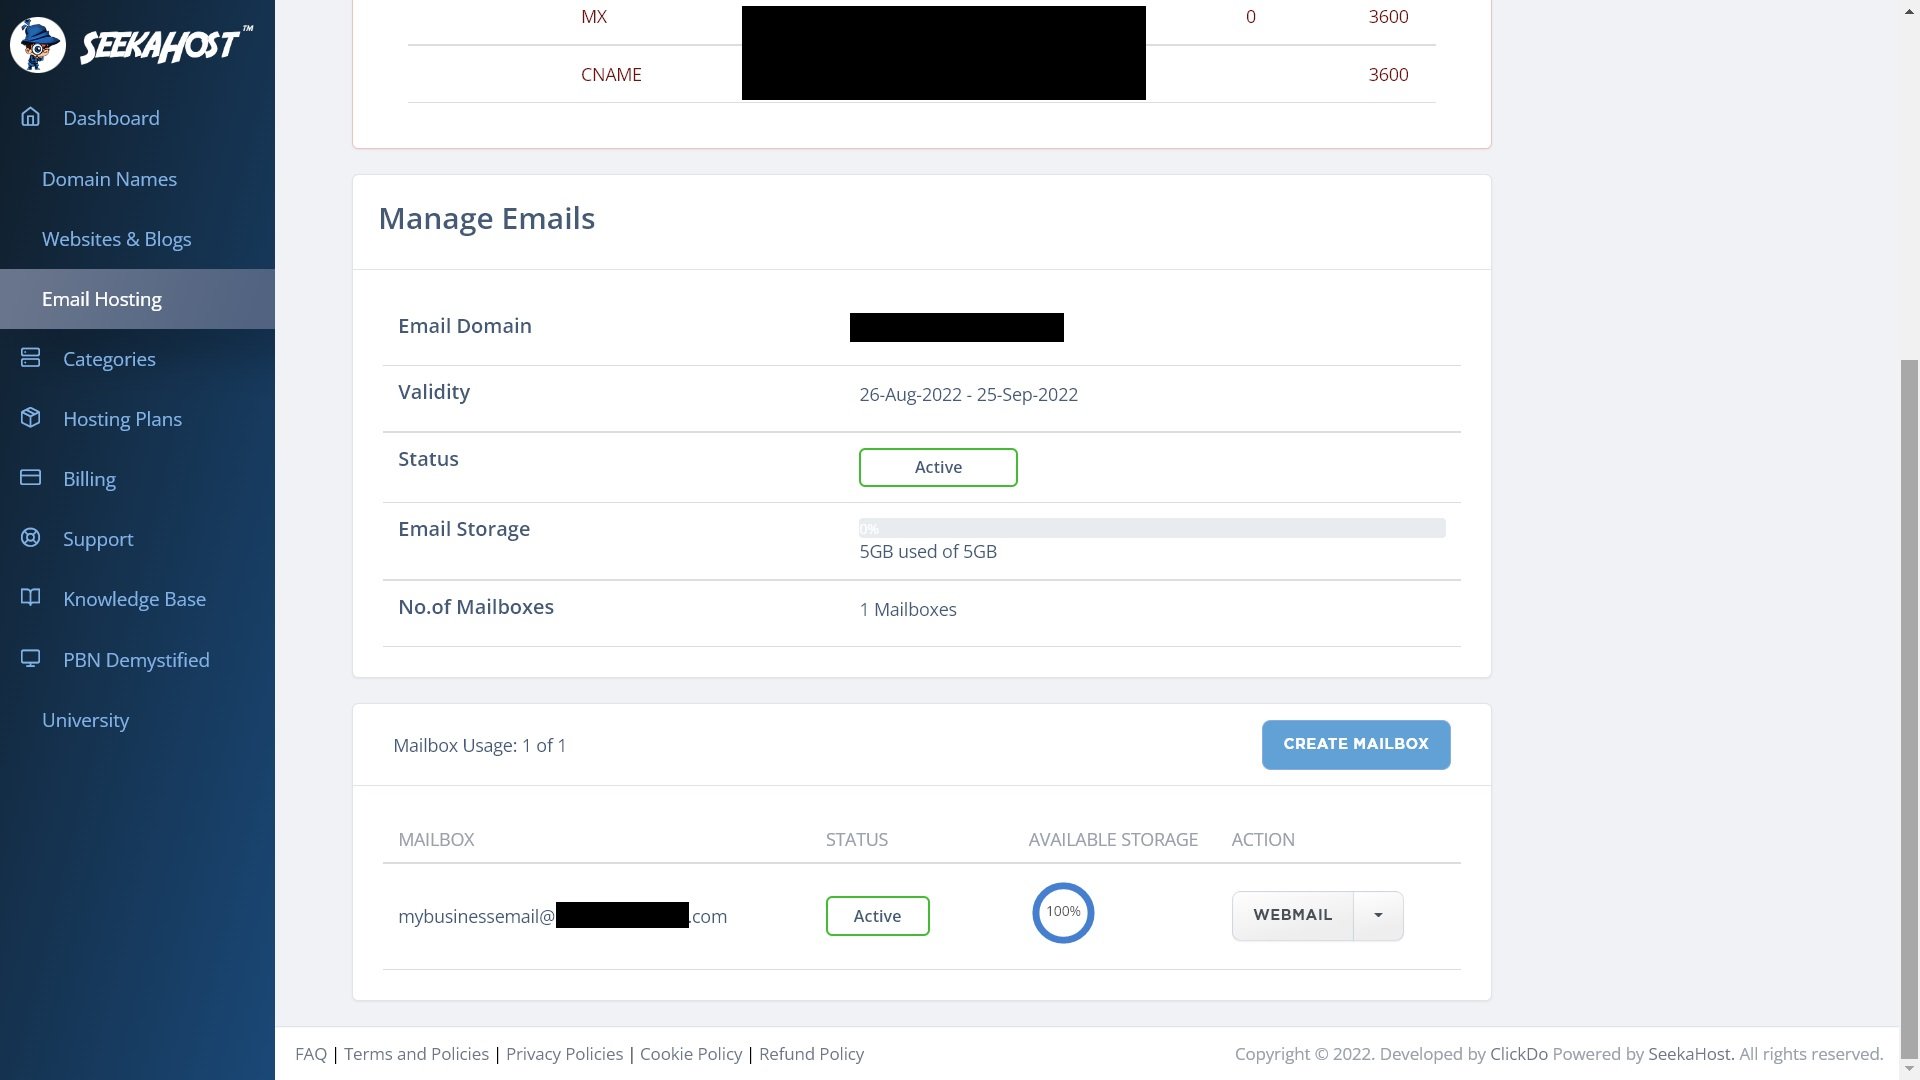
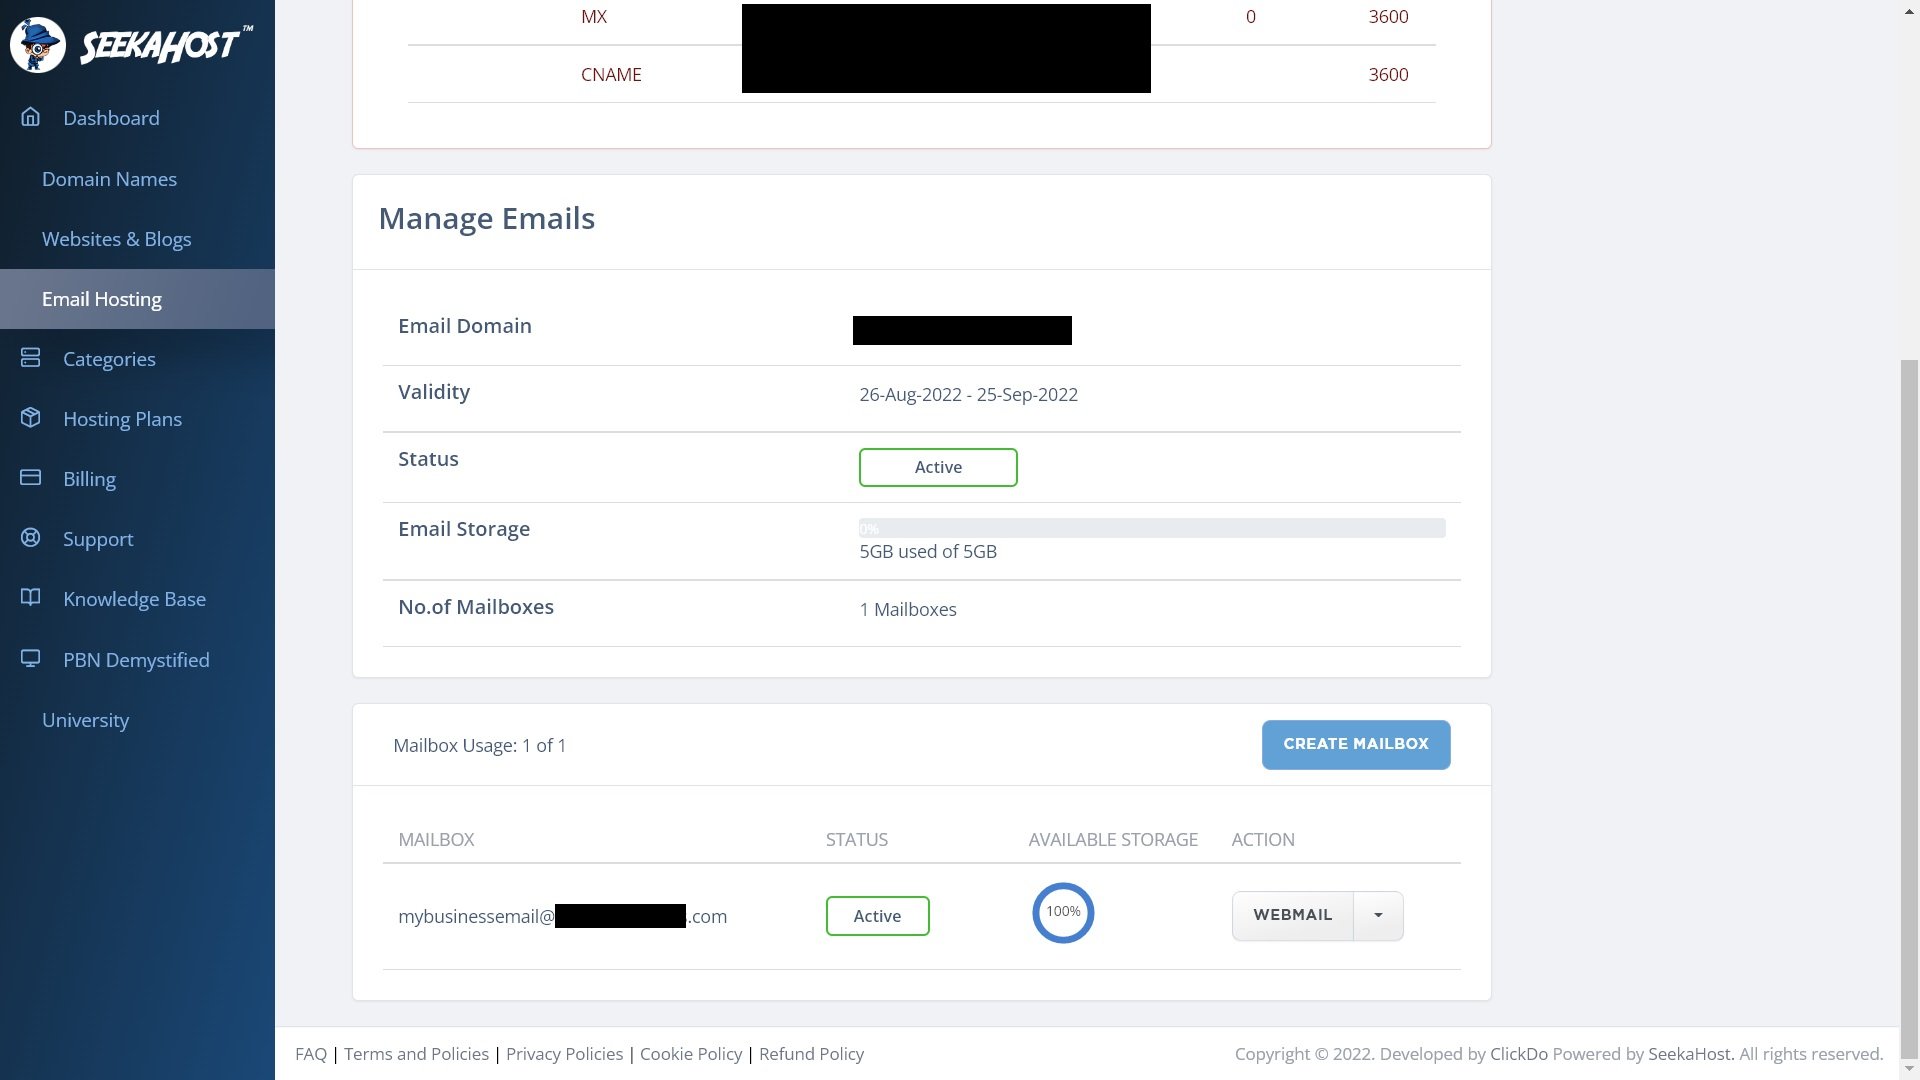
2. Now, we’re going to set up the actual email address for your email domain. To do that, click the “Create Mailbox” button:

3. Create a new email address under your email domain in the create mailbox popup. Each individual email address under this email domain is also called a “mailbox.”
Think of a mailbox as any other email address with its own inbox, outbox, spam folder, etc. You can create multiple mailboxes under a single domain if your plan allows it.
First, type in a mailbox name. Your email address will look like mailbox_name@email_domain_name.com. Also, create a password for the email account:

You’ll see the new mailbox created within the settings page of your email domain:
You can repeat the exact same steps to create as many email addresses and mailboxes as your plan allows. SeekaHost offers plans to create up to 20 mailboxes with 100 GB of storage.
Configure your email domain’s DNS settings
Before you can make use of your email address, you’ll need to make sure the DNS settings are correctly configured. Without getting too technical, this simply ensures that emails are routed correctly to the domain’s mail exchange (MX) server.
Depending on whether your domain is registered with SeekaHost or a third party, the process will be slightly different. However, don’t worry, as it’s really easy to do and just involves some reading and copy-pasting.
The first thing you need to do is find SeekaHost’s DNS settings. You can find the details for the MX server under your email domain settings:
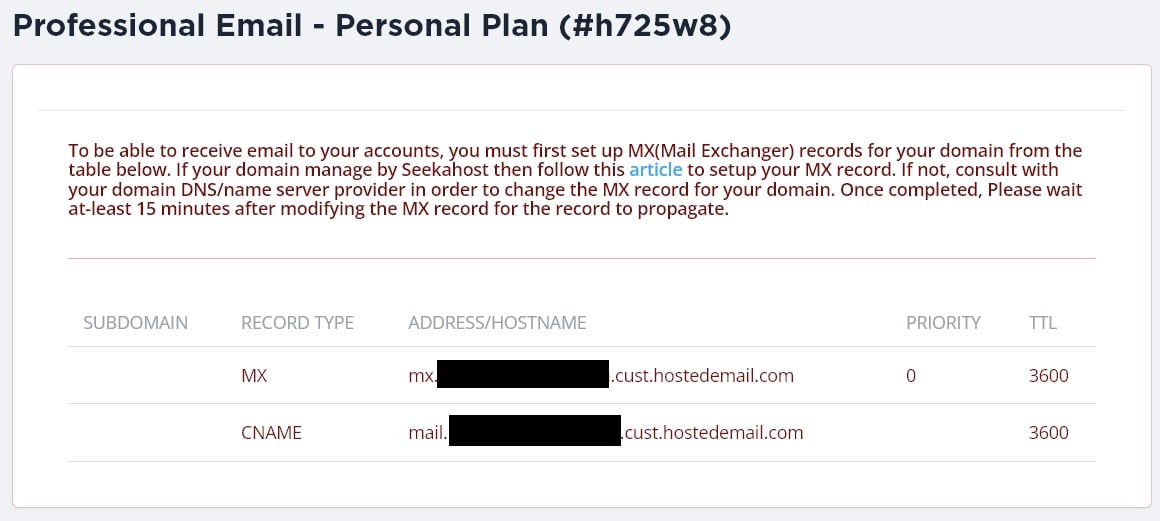
Make sure that you copy or keep the MX entry under “ADDRESS/HOSTNAME” handy as you’ll need it later on.
If your domain is with SeekaHost, you can use the guide here to set up your DNS for email. Basically, it involves:
1. Going to the DNS settings for your domain:

2. Add two new DNS records:
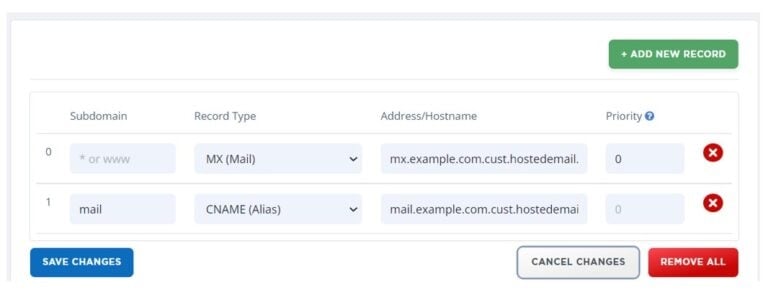
3. Change all the fields with the MX information that you can find under your email domain settings (seen above).
Here are the steps if your domain is hosted with another provider:
1. Log in to your account with your domain registrar and navigate to your domain’s settings.
2. Find the DNS settings for your domain.
3. Find the MX record for your domain and edit it:
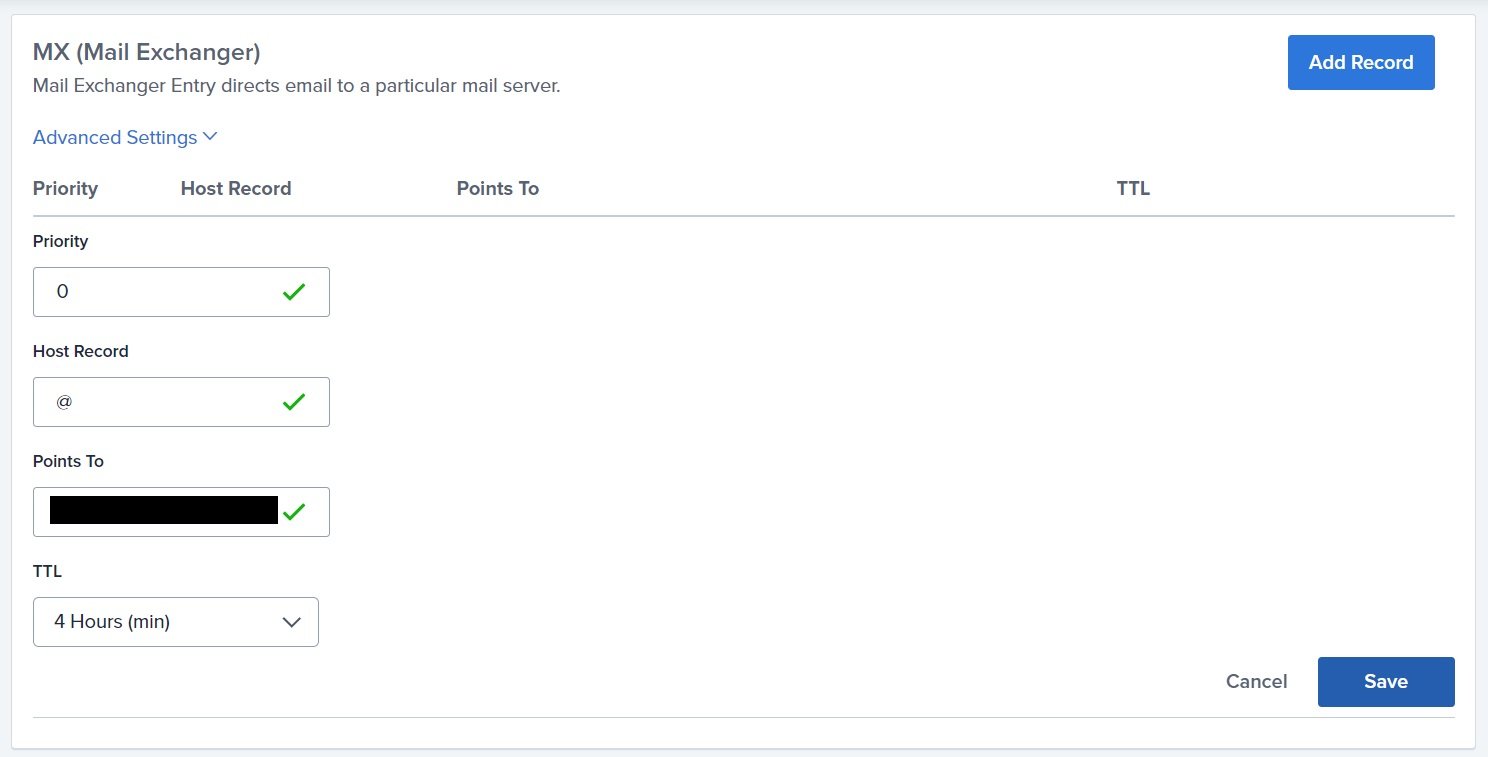
4. Paste the ADDRESS/HOSTNAME you copied from SeekaHost into the “Points to” field. Also, make sure that all the other information is the same.
In this case, “Priority” should be “0,” Host Record should be “MX,” and TTL can be any value (preferably over 3,600 seconds / 1 hour).
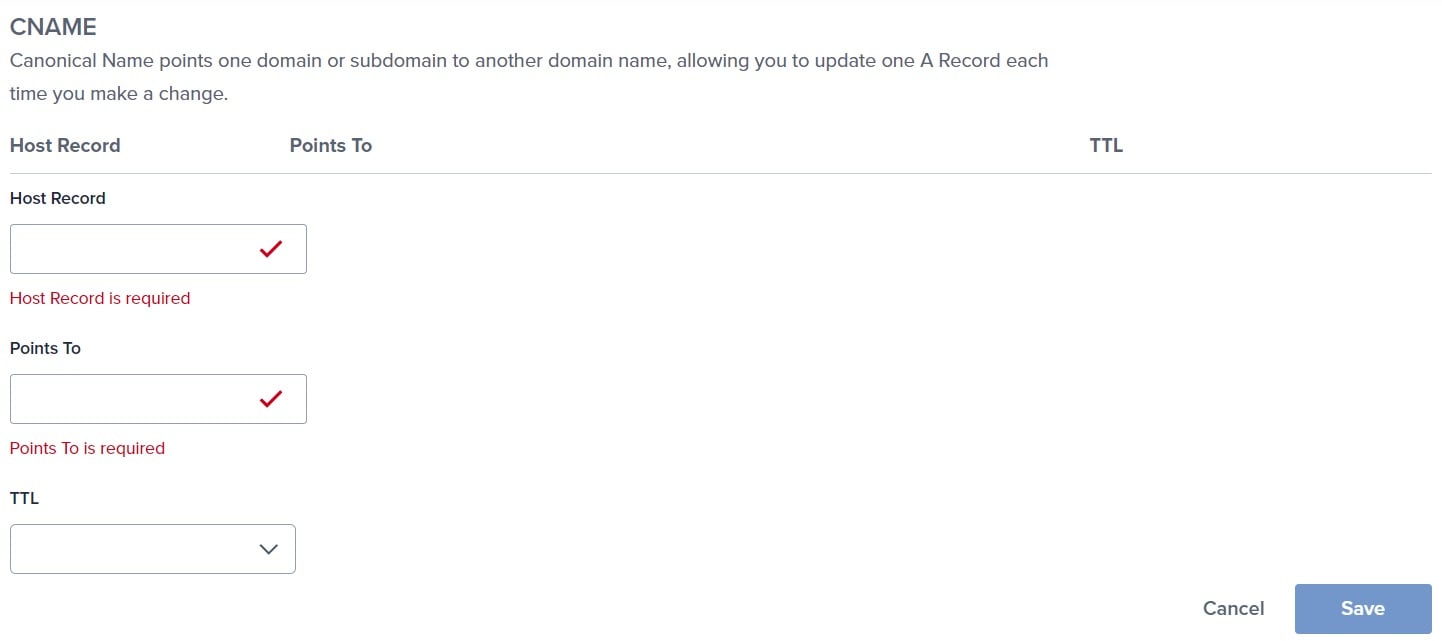
5. Next, find the CNAME record in your DNS settings. Do the same as above, but use the information from the CNAME record in your SeekaHost domain settings.
So, “Host Record” should be “CNAME” and Points to should be something like “mail.my_domain.com.cust.hostedemail.com.”
Your mail exchange server should now be ready to send and receive emails.
Login and manage your webmail
Each mailbox is like a separate email account that you can log in to, view and send emails, and manage individually. You will see all your mailboxes for a given email domain in the domain’s settings page.
First, we’ll look at some of the ways you can manage your mailbox from this page.
If you click the dropdown icon next to “WEBMAIL” in the “ACTION” column, you’ll see the following options:
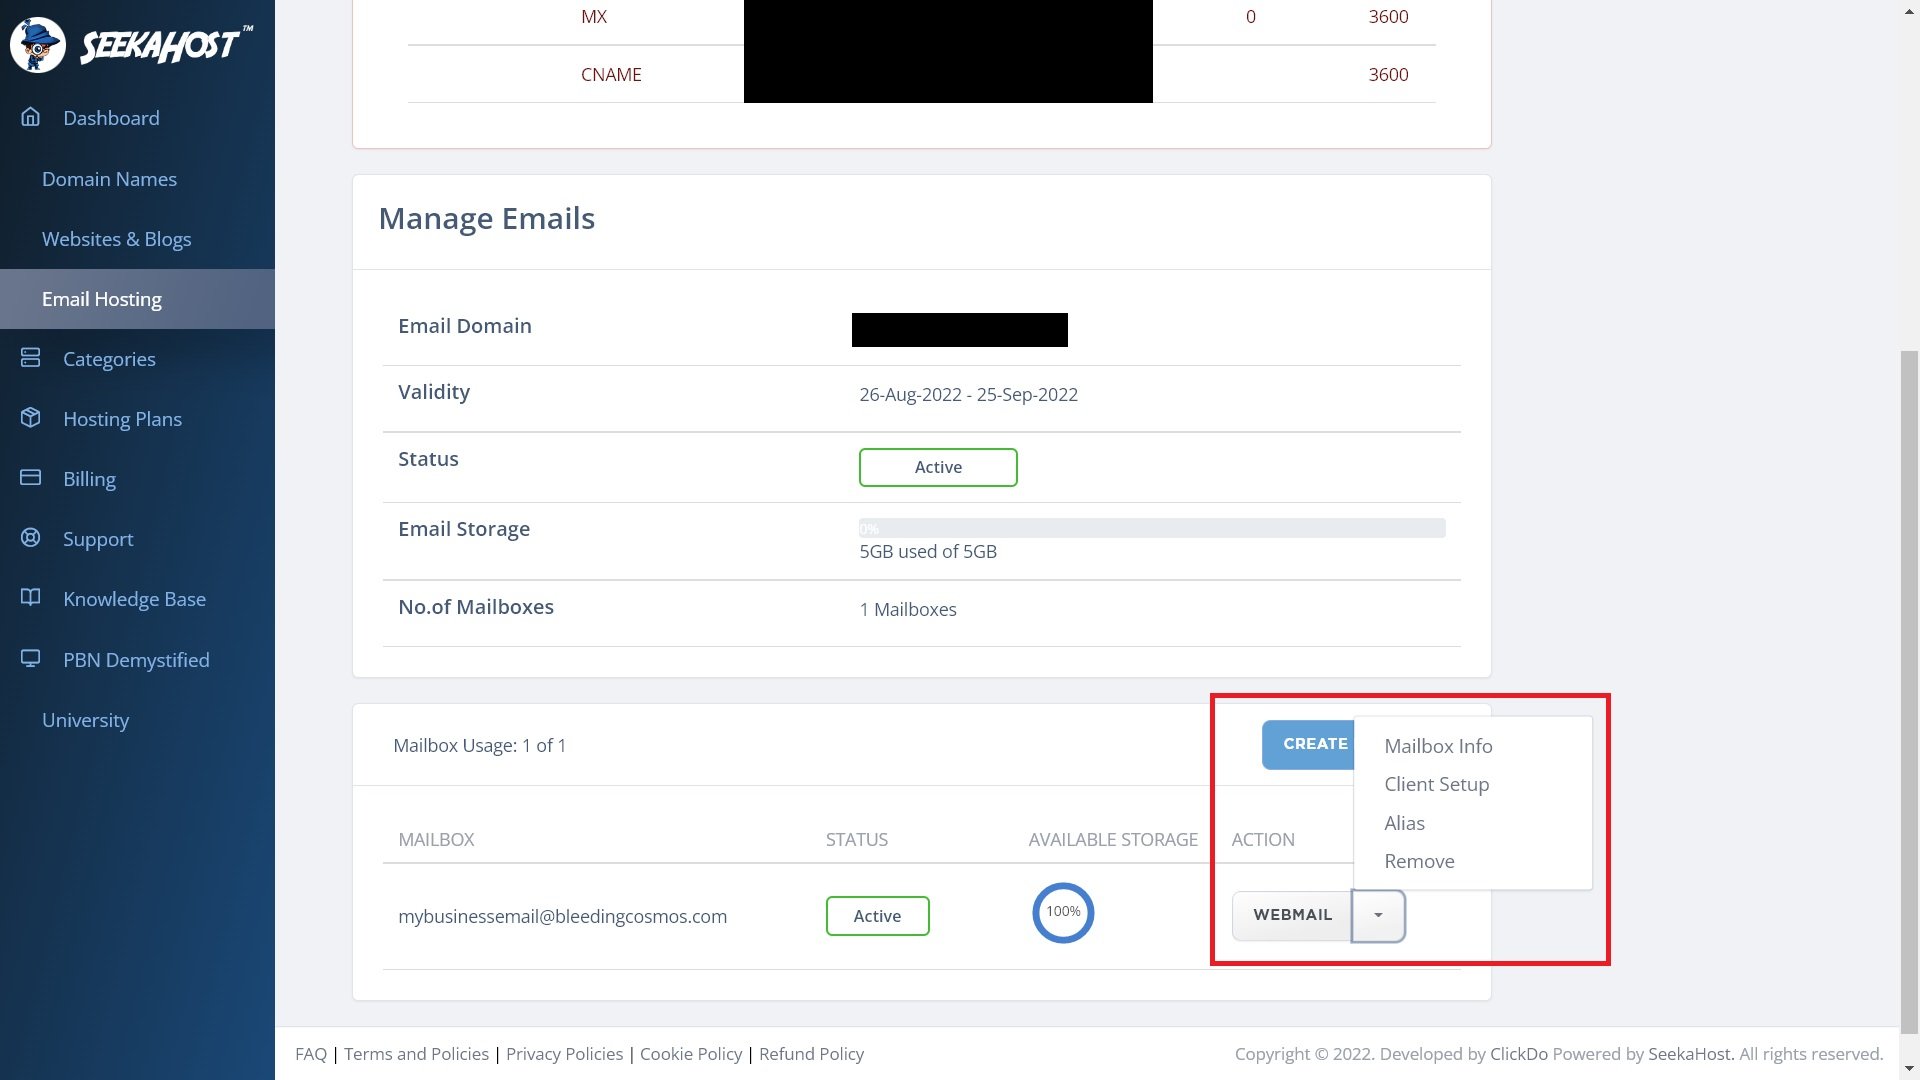
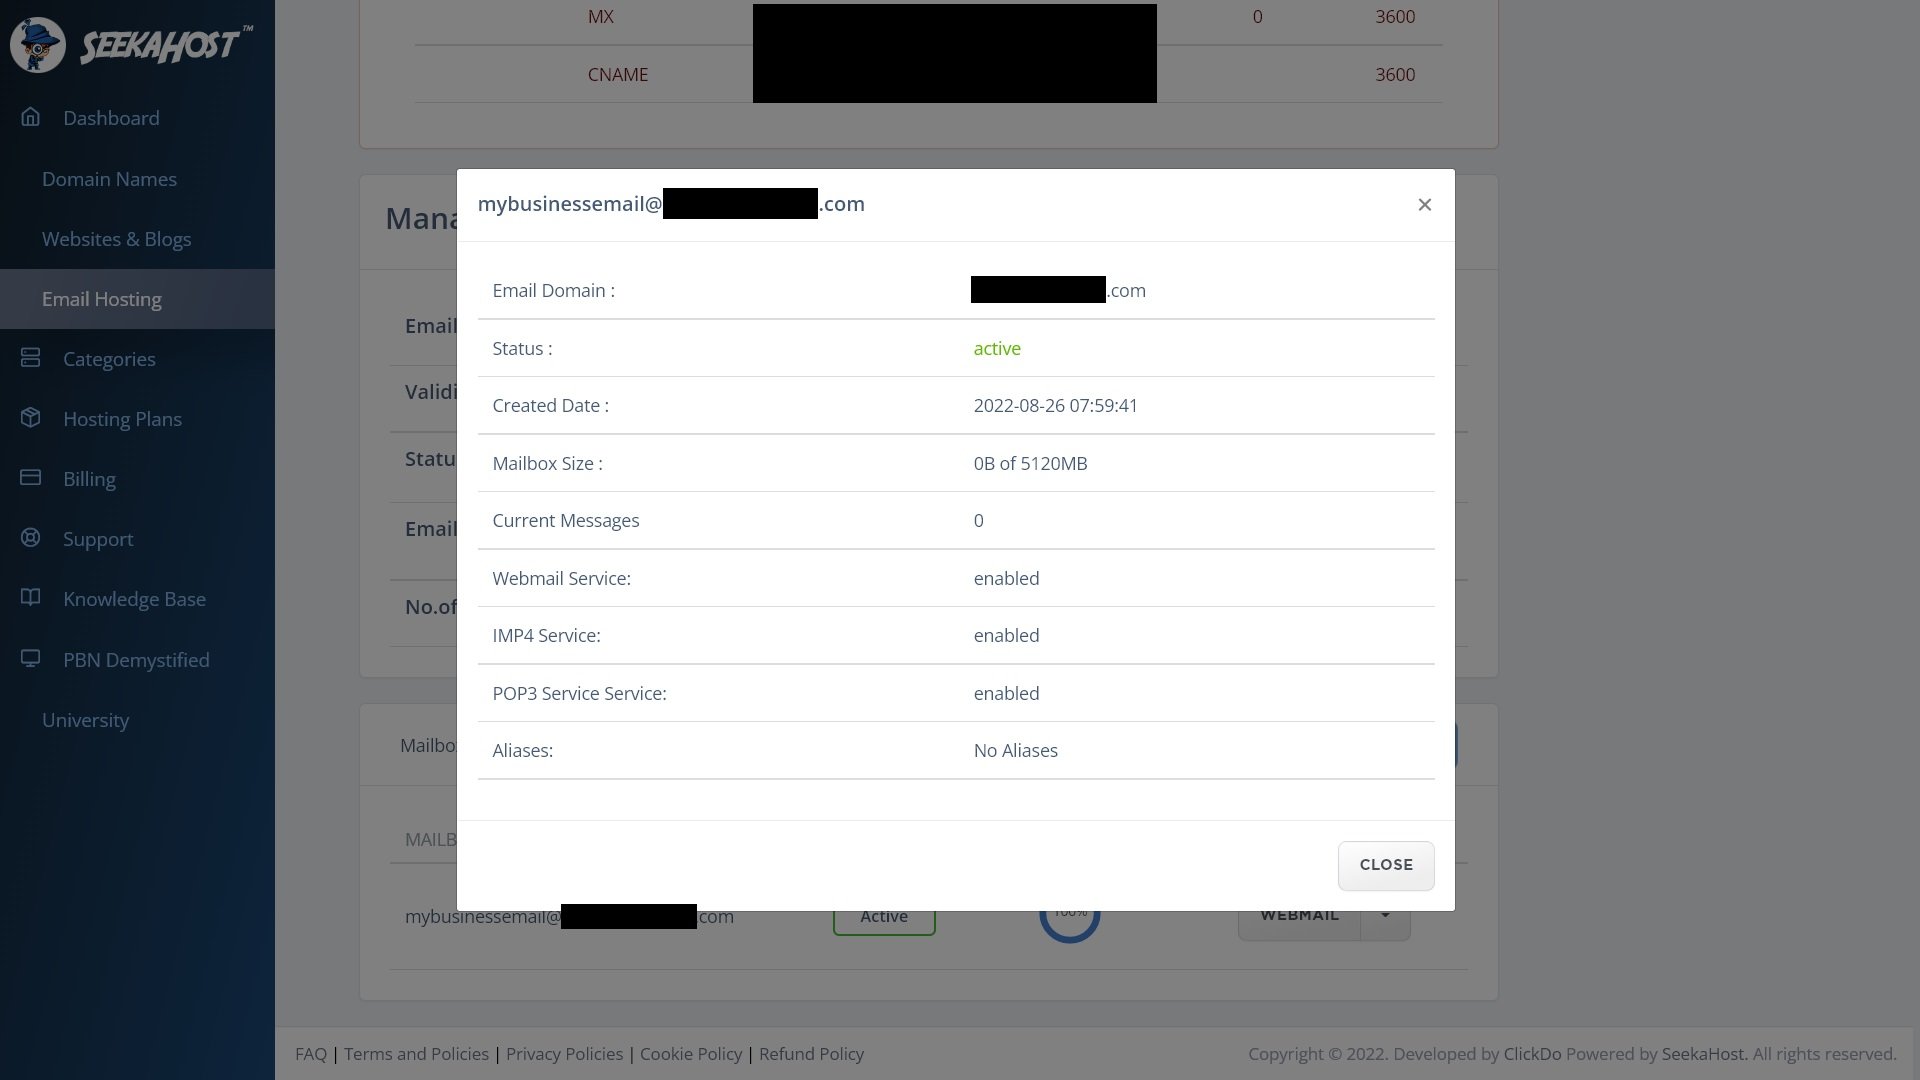
Under Mailbox info, you can see useful information about each individual mailbox, such as the available space and configuration settings:
Unless you’re a technical user, you don’t have to worry about the other options, like client setup or alias. You can also delete a mailbox to free up your account limits by clicking “Remove.”
Now, here are the steps to log in to and use your mailbox via the webmail app:
1. Find the email address you want to use and, under “ACTION,” click the “WEBMAIL” button:
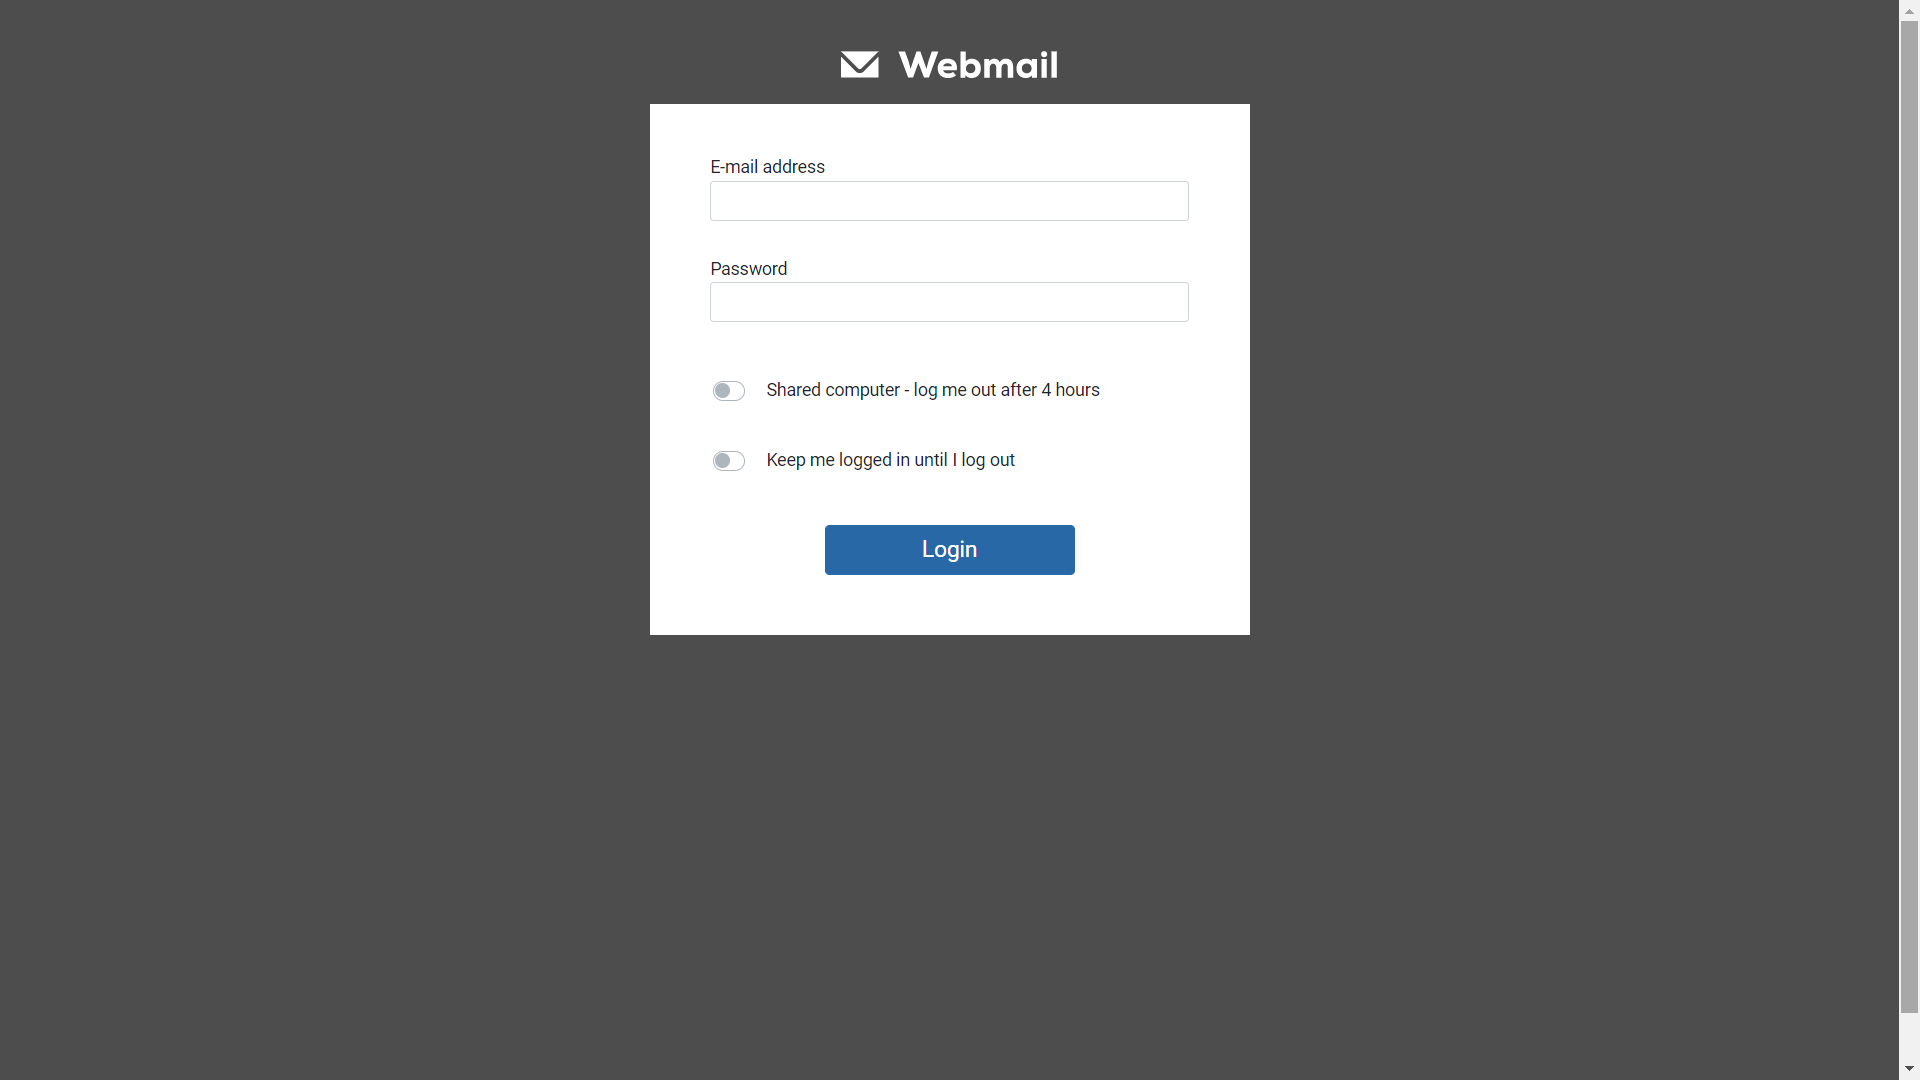
2. That will take you to the Webmail app login page. Enter the mailbox details (email address + password) that you created above to login to your mailbox:
3. As you can see, the Webmail interface is simple, easy to use, and will be familiar if you’ve used any commercial or business email account before:
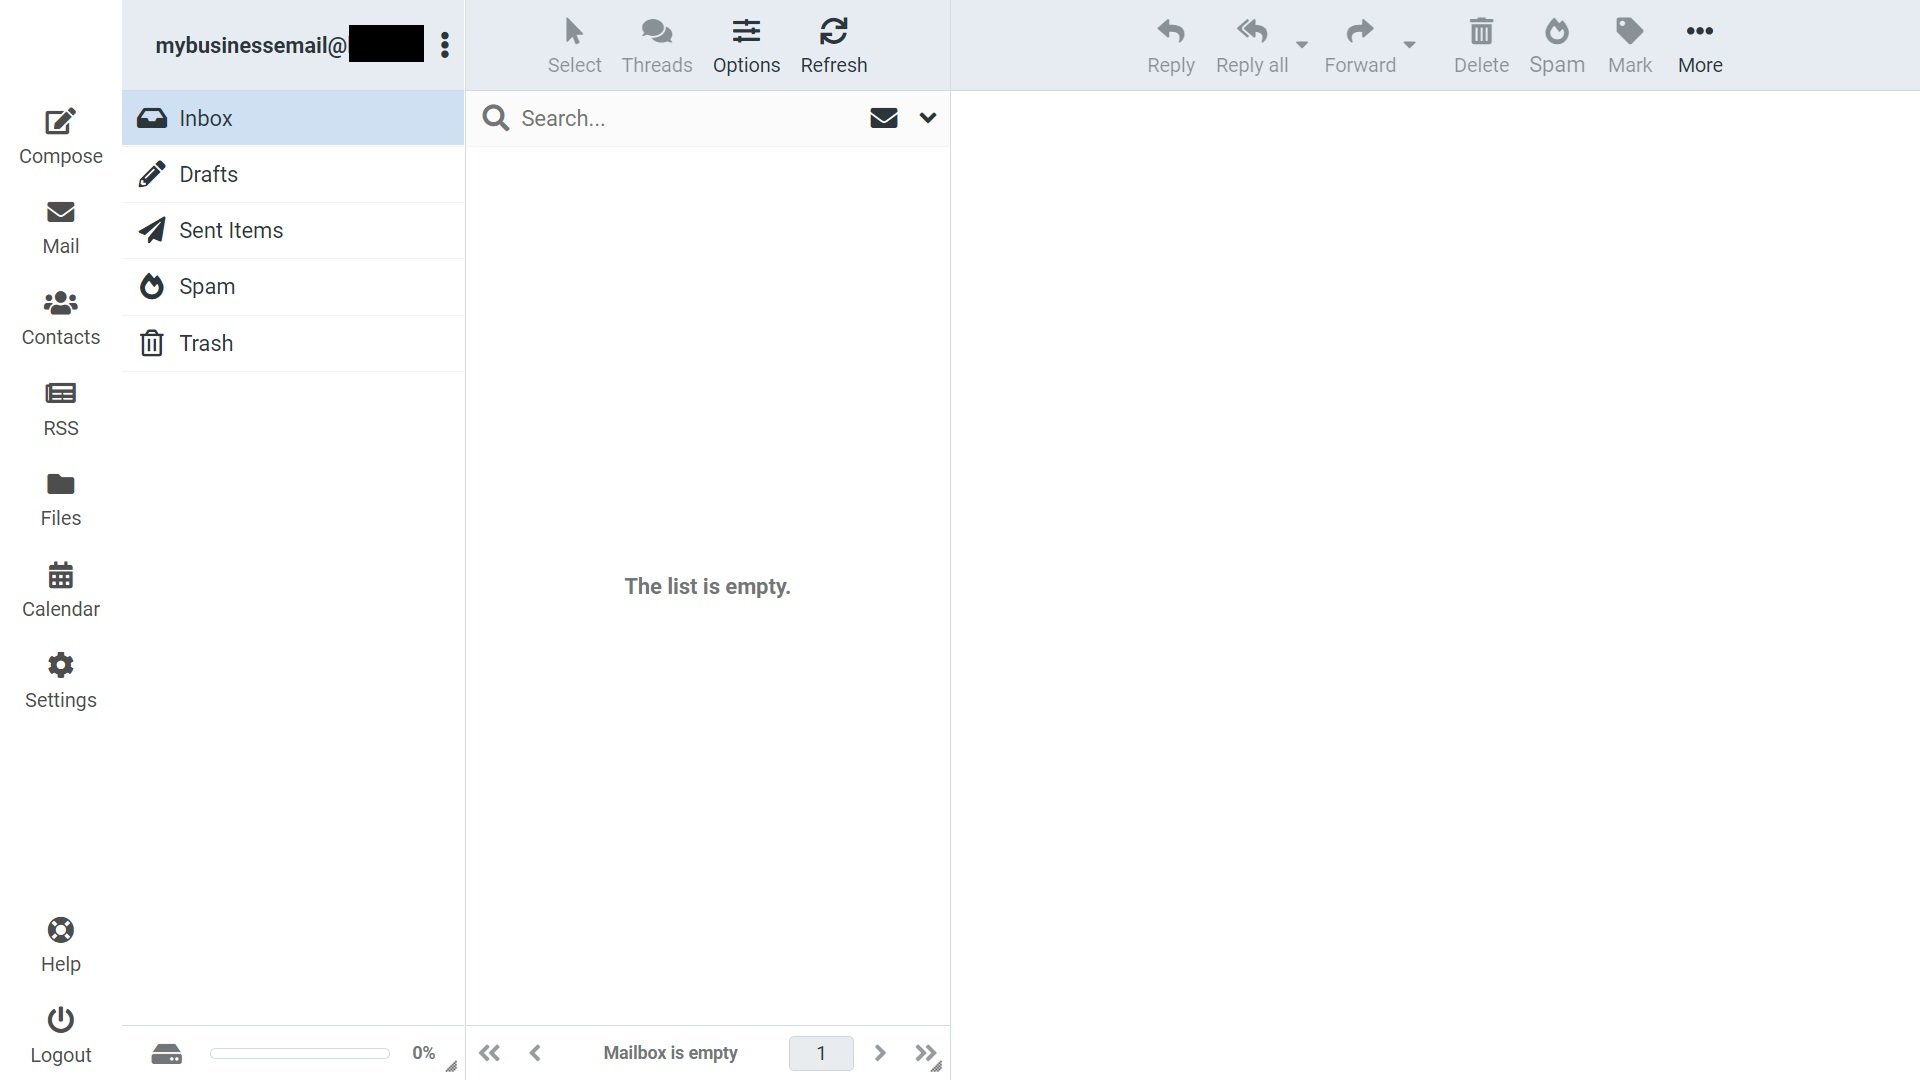
4. You can create an email by clicking “Compose” in the top left and create an email just like you would with any other client:

5. Send the email to another email account and see if it gets delivered successfully:

6. You can also send an email to your newly created mailbox. You’ll find incoming emails under “Inbox” in your Webmail dashboard:

If that works, then congratulations – you got yourself a working brand new business email!
Summary
Now, you can take your business to the next level of productivity and professionalism with your very own business email. The process is relatively fast and easy, especially with a step-by-step guide to help you.
And, once it’s set up, you’ll have the peace of mind knowing that you won’t have to worry about managing your own email exchange server, email clients, or any other technical issues, thanks to SeekaHost.


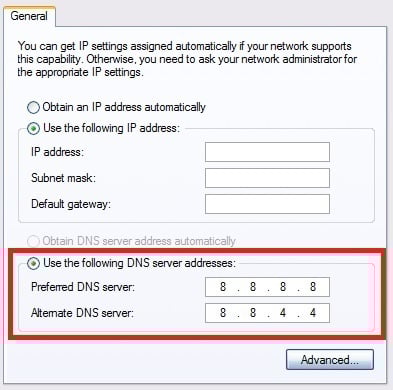
 There is a DNS change. It is noted in the statement, “Use the following DNS.” Incorporate address updates as necessary. The preferred value must be replaced as “8.8.8.8” and alternate as “8.8.4.4.”


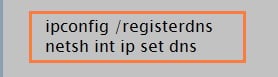

 The DNS is modified. The representation “Use the following DNS” notes it. Include the address changes when appropriate.
 Then toggle it off by deselecting “Use a prediction service to load pages.”
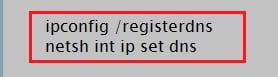
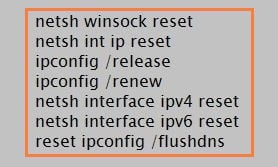
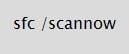 The operating system will inspect the system records. It is while you could follow along on the console.After performing the initial check, you could use these instructions. It is to inspect and confirm a specific file.


 Remove any VPN in that box if present.
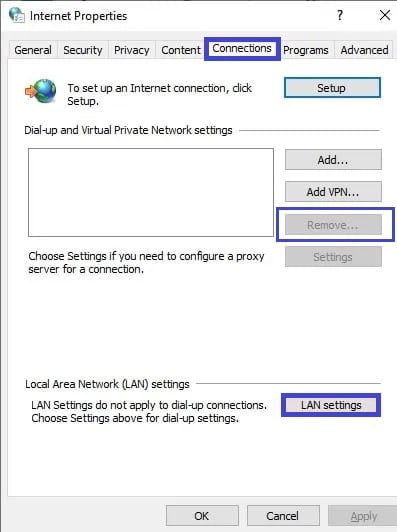 Disable by deselecting the “Use a proxy server” checkbox in “LAN settings.” Finally, press “Ok.”


 The problem arises when someone attempts to communicate with a host system. It is with Browser, yet their query gets rejected.


 They will also understand and tell you whether the database is working well or any suspicious activity that might have caused the “Error Establishing a Database Connection.”


